Validation Testing
In this activity you will:
- Access the Apache web server
- Access the WordPress application
- Post a blog article
- Verify firewall rule matches
The previous two activities had you deploy and configure the infrastructure supporting our WordPress application. Now it’s time to see if everything works as planned. If so, you should be able to access the application, post a blog article, and verify that the appropriate firewall rules are being hit. If not, you will need to troubleshoot your configs and make the necessary corrections.
Access the Apache web server
The web server is using the firewall’s untrust interface address in a destination NAT rule. Run the following commands to determine the IP address of this interface.
For GCP:
$ cd ~/multicloud-automation-lab/deployment/gcp
$ terraform output
For AWS:
$ cd ~/multicloud-automation-lab/deployment/aws
$ terraform output
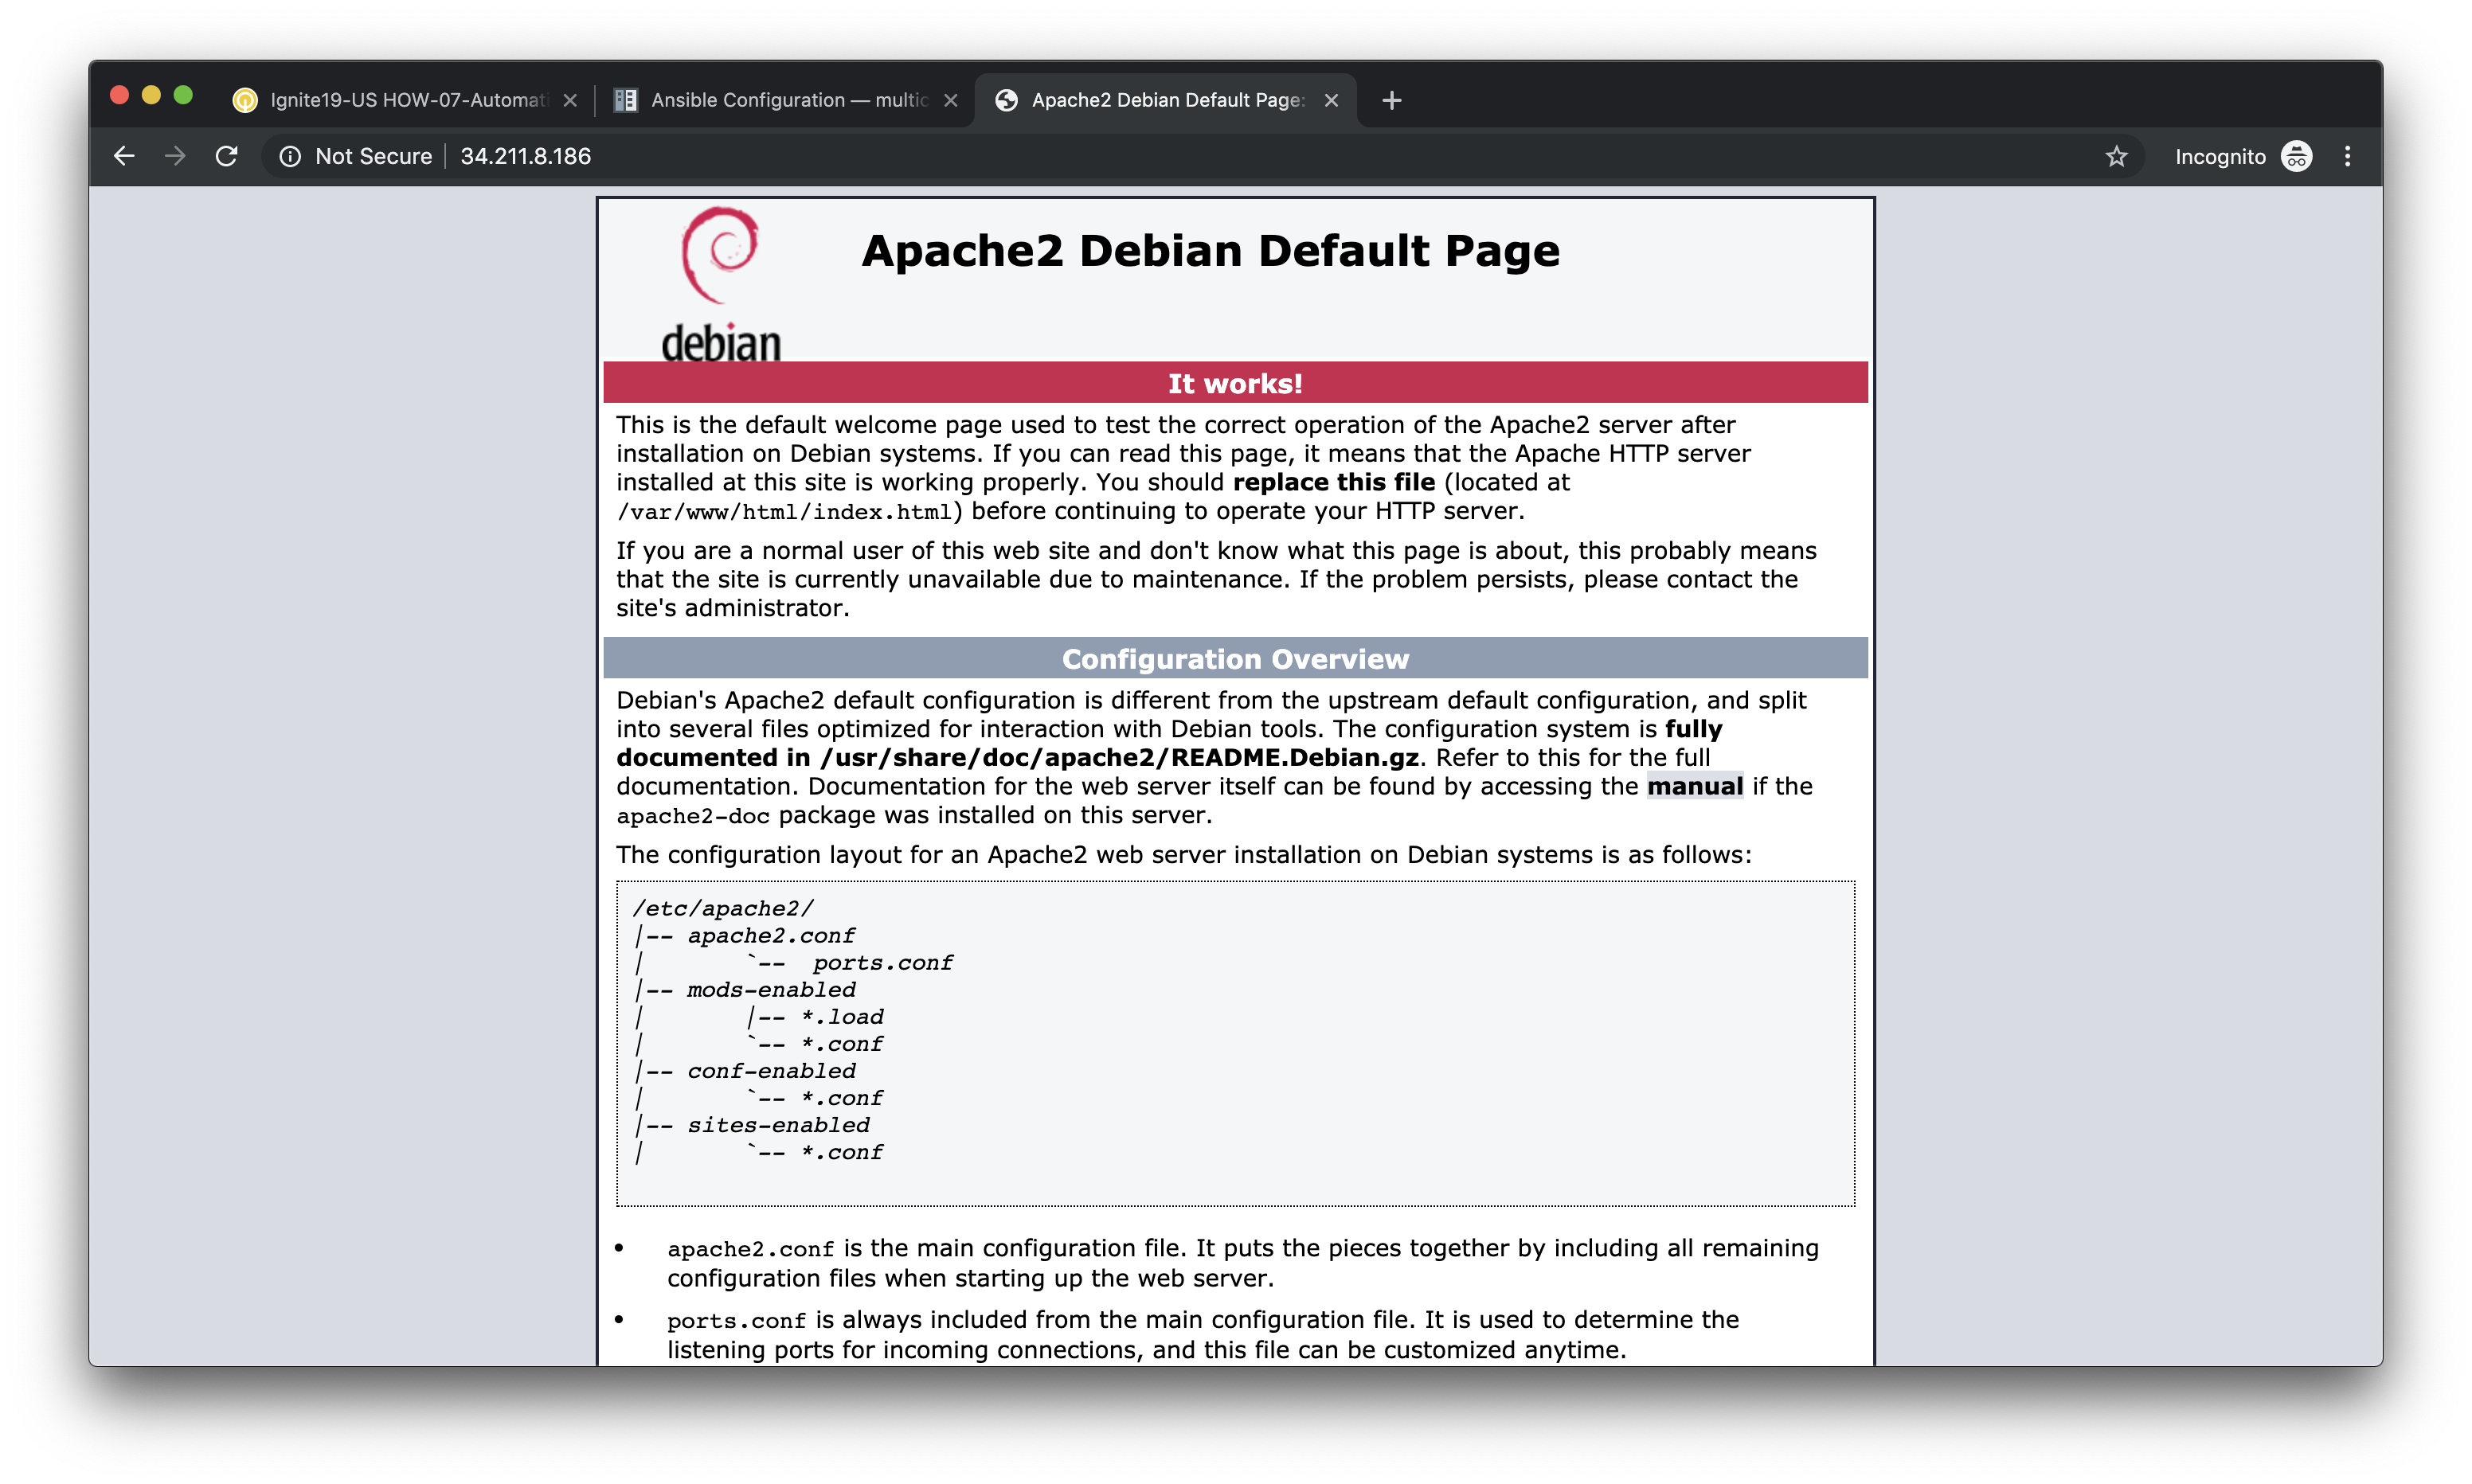
Open a new tab in your web browser and go to http://<web-server-ip-address>.
You should see the Apache default home page.
Access the WordPress application
Append /wordpress to the end of the web server URL and the WordPress
installation page should be displayed.
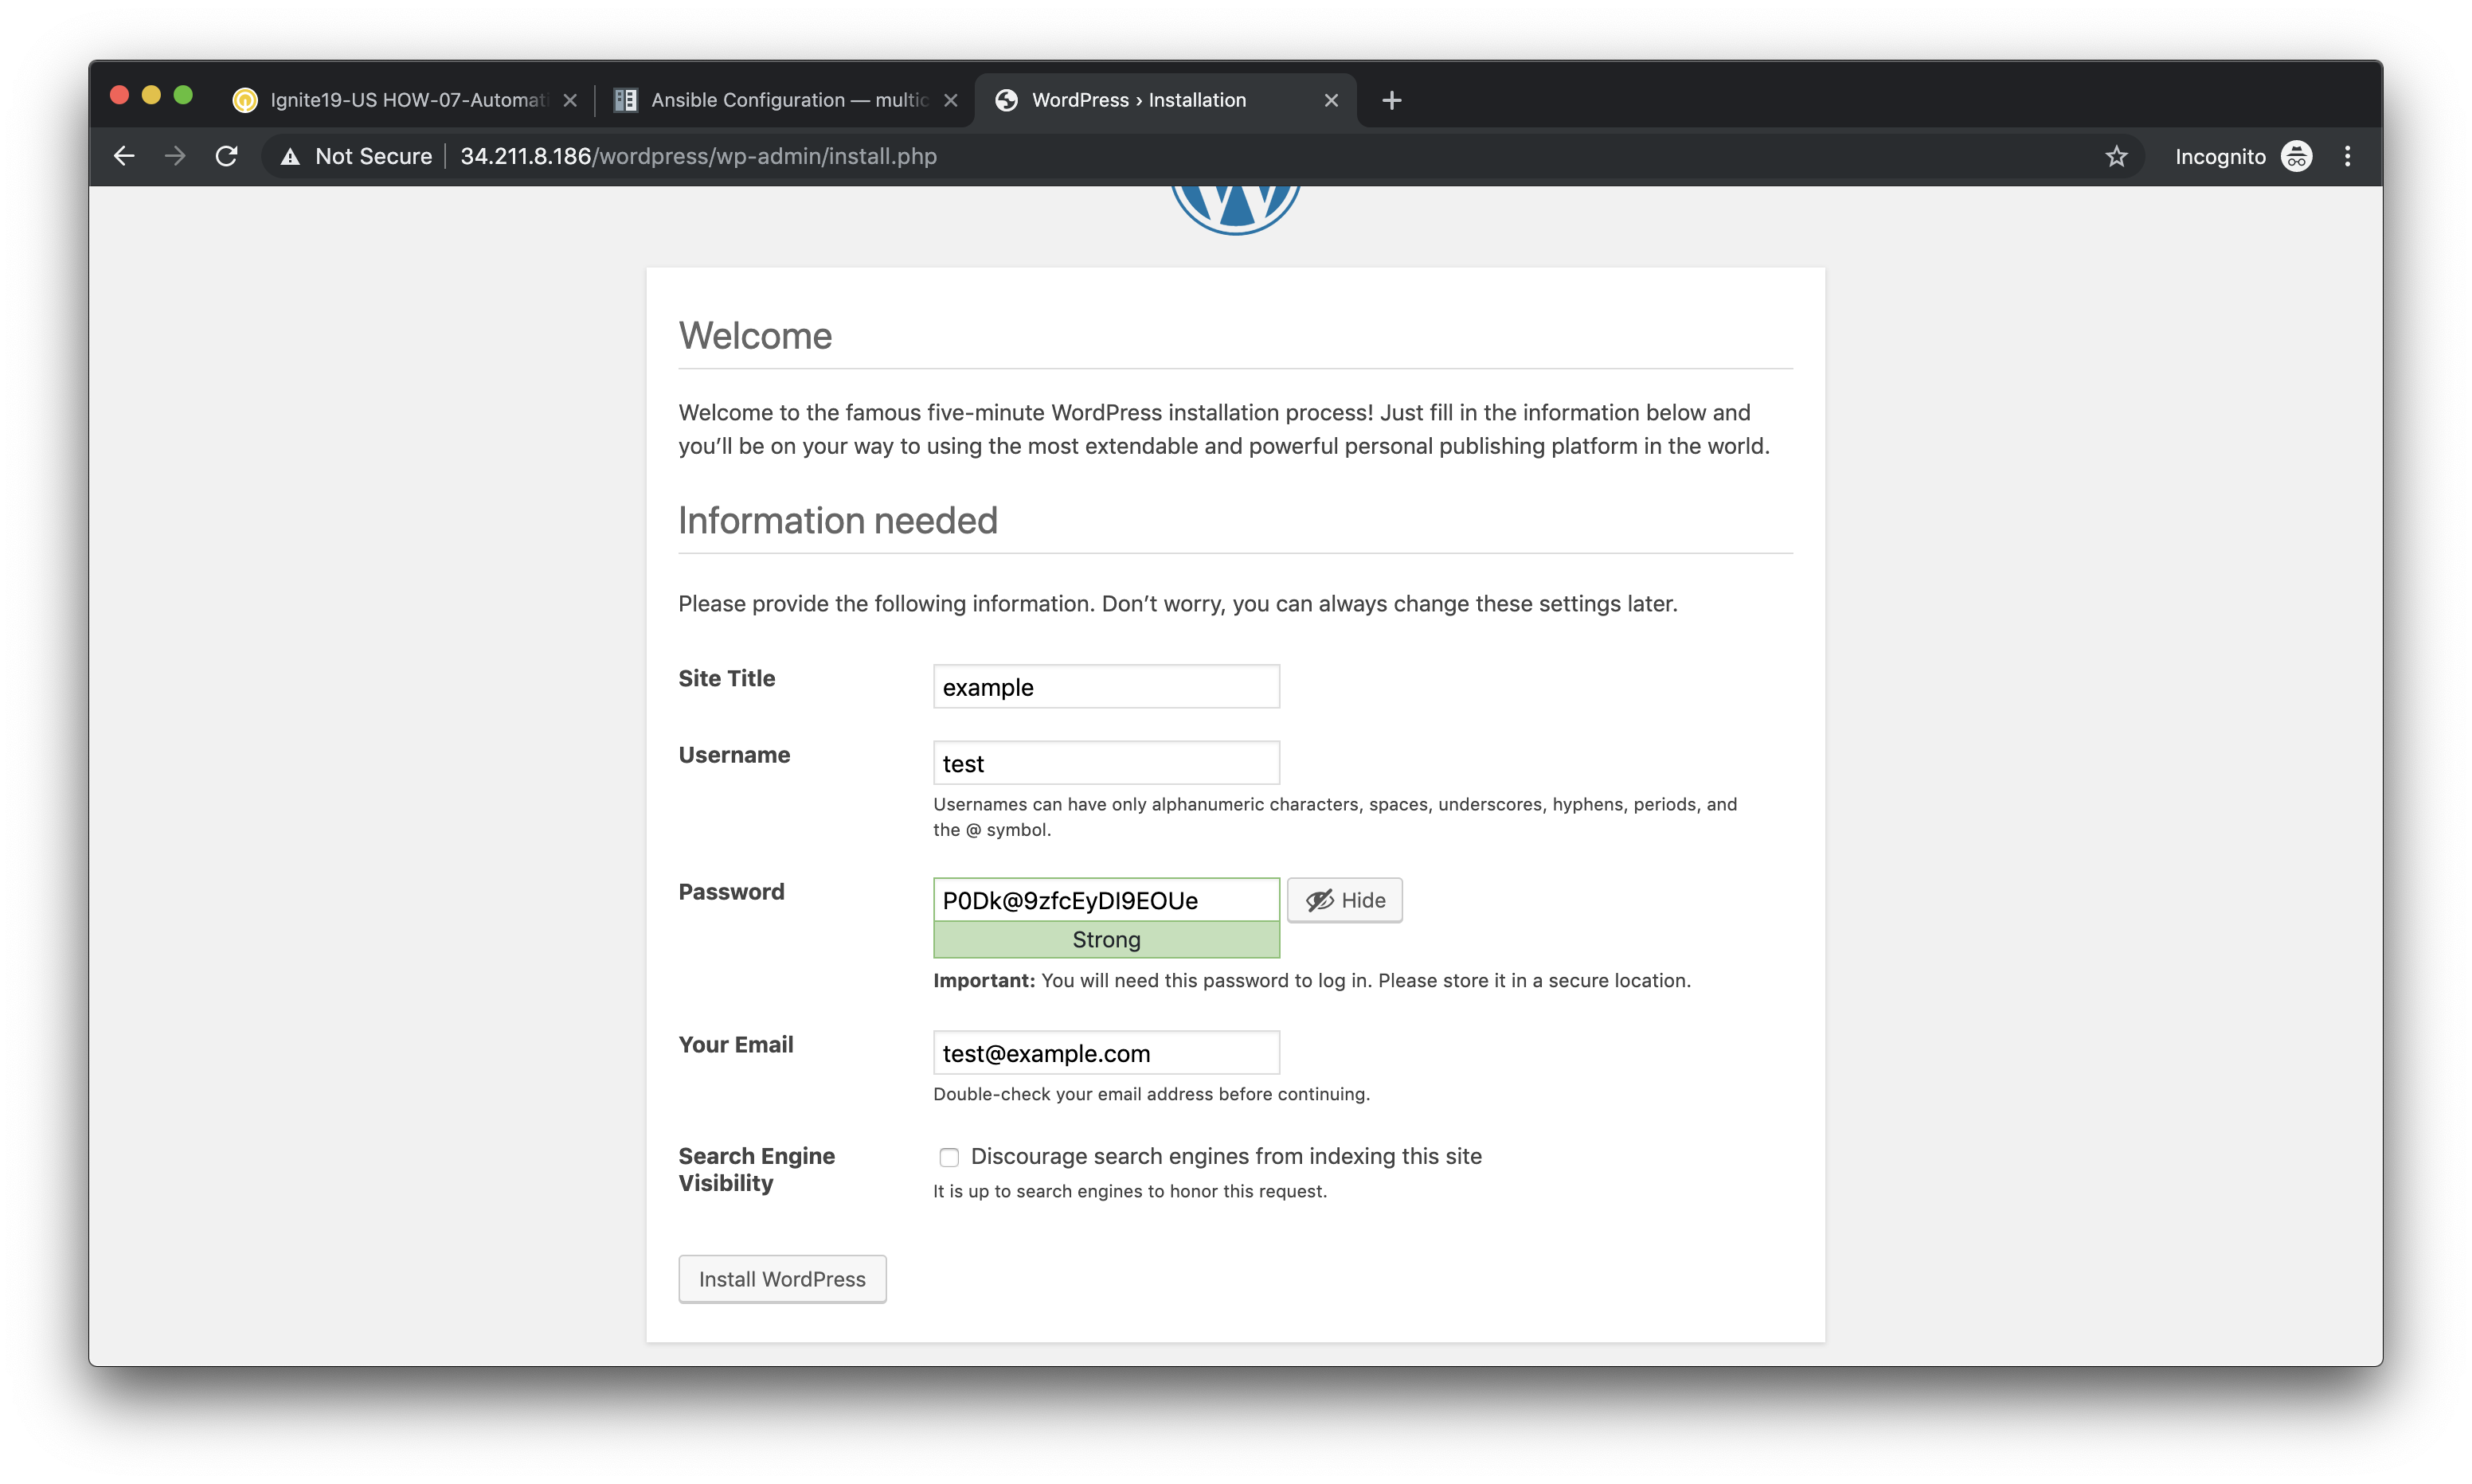
Fill in values of your choosing for the Site Name, Username, and Your Email. These are only for testing and do not need to be real values.
Note
Make sure you copy the password that is provided to your clipboard. Otherwise you may not be able to log in once WordPress is installed.
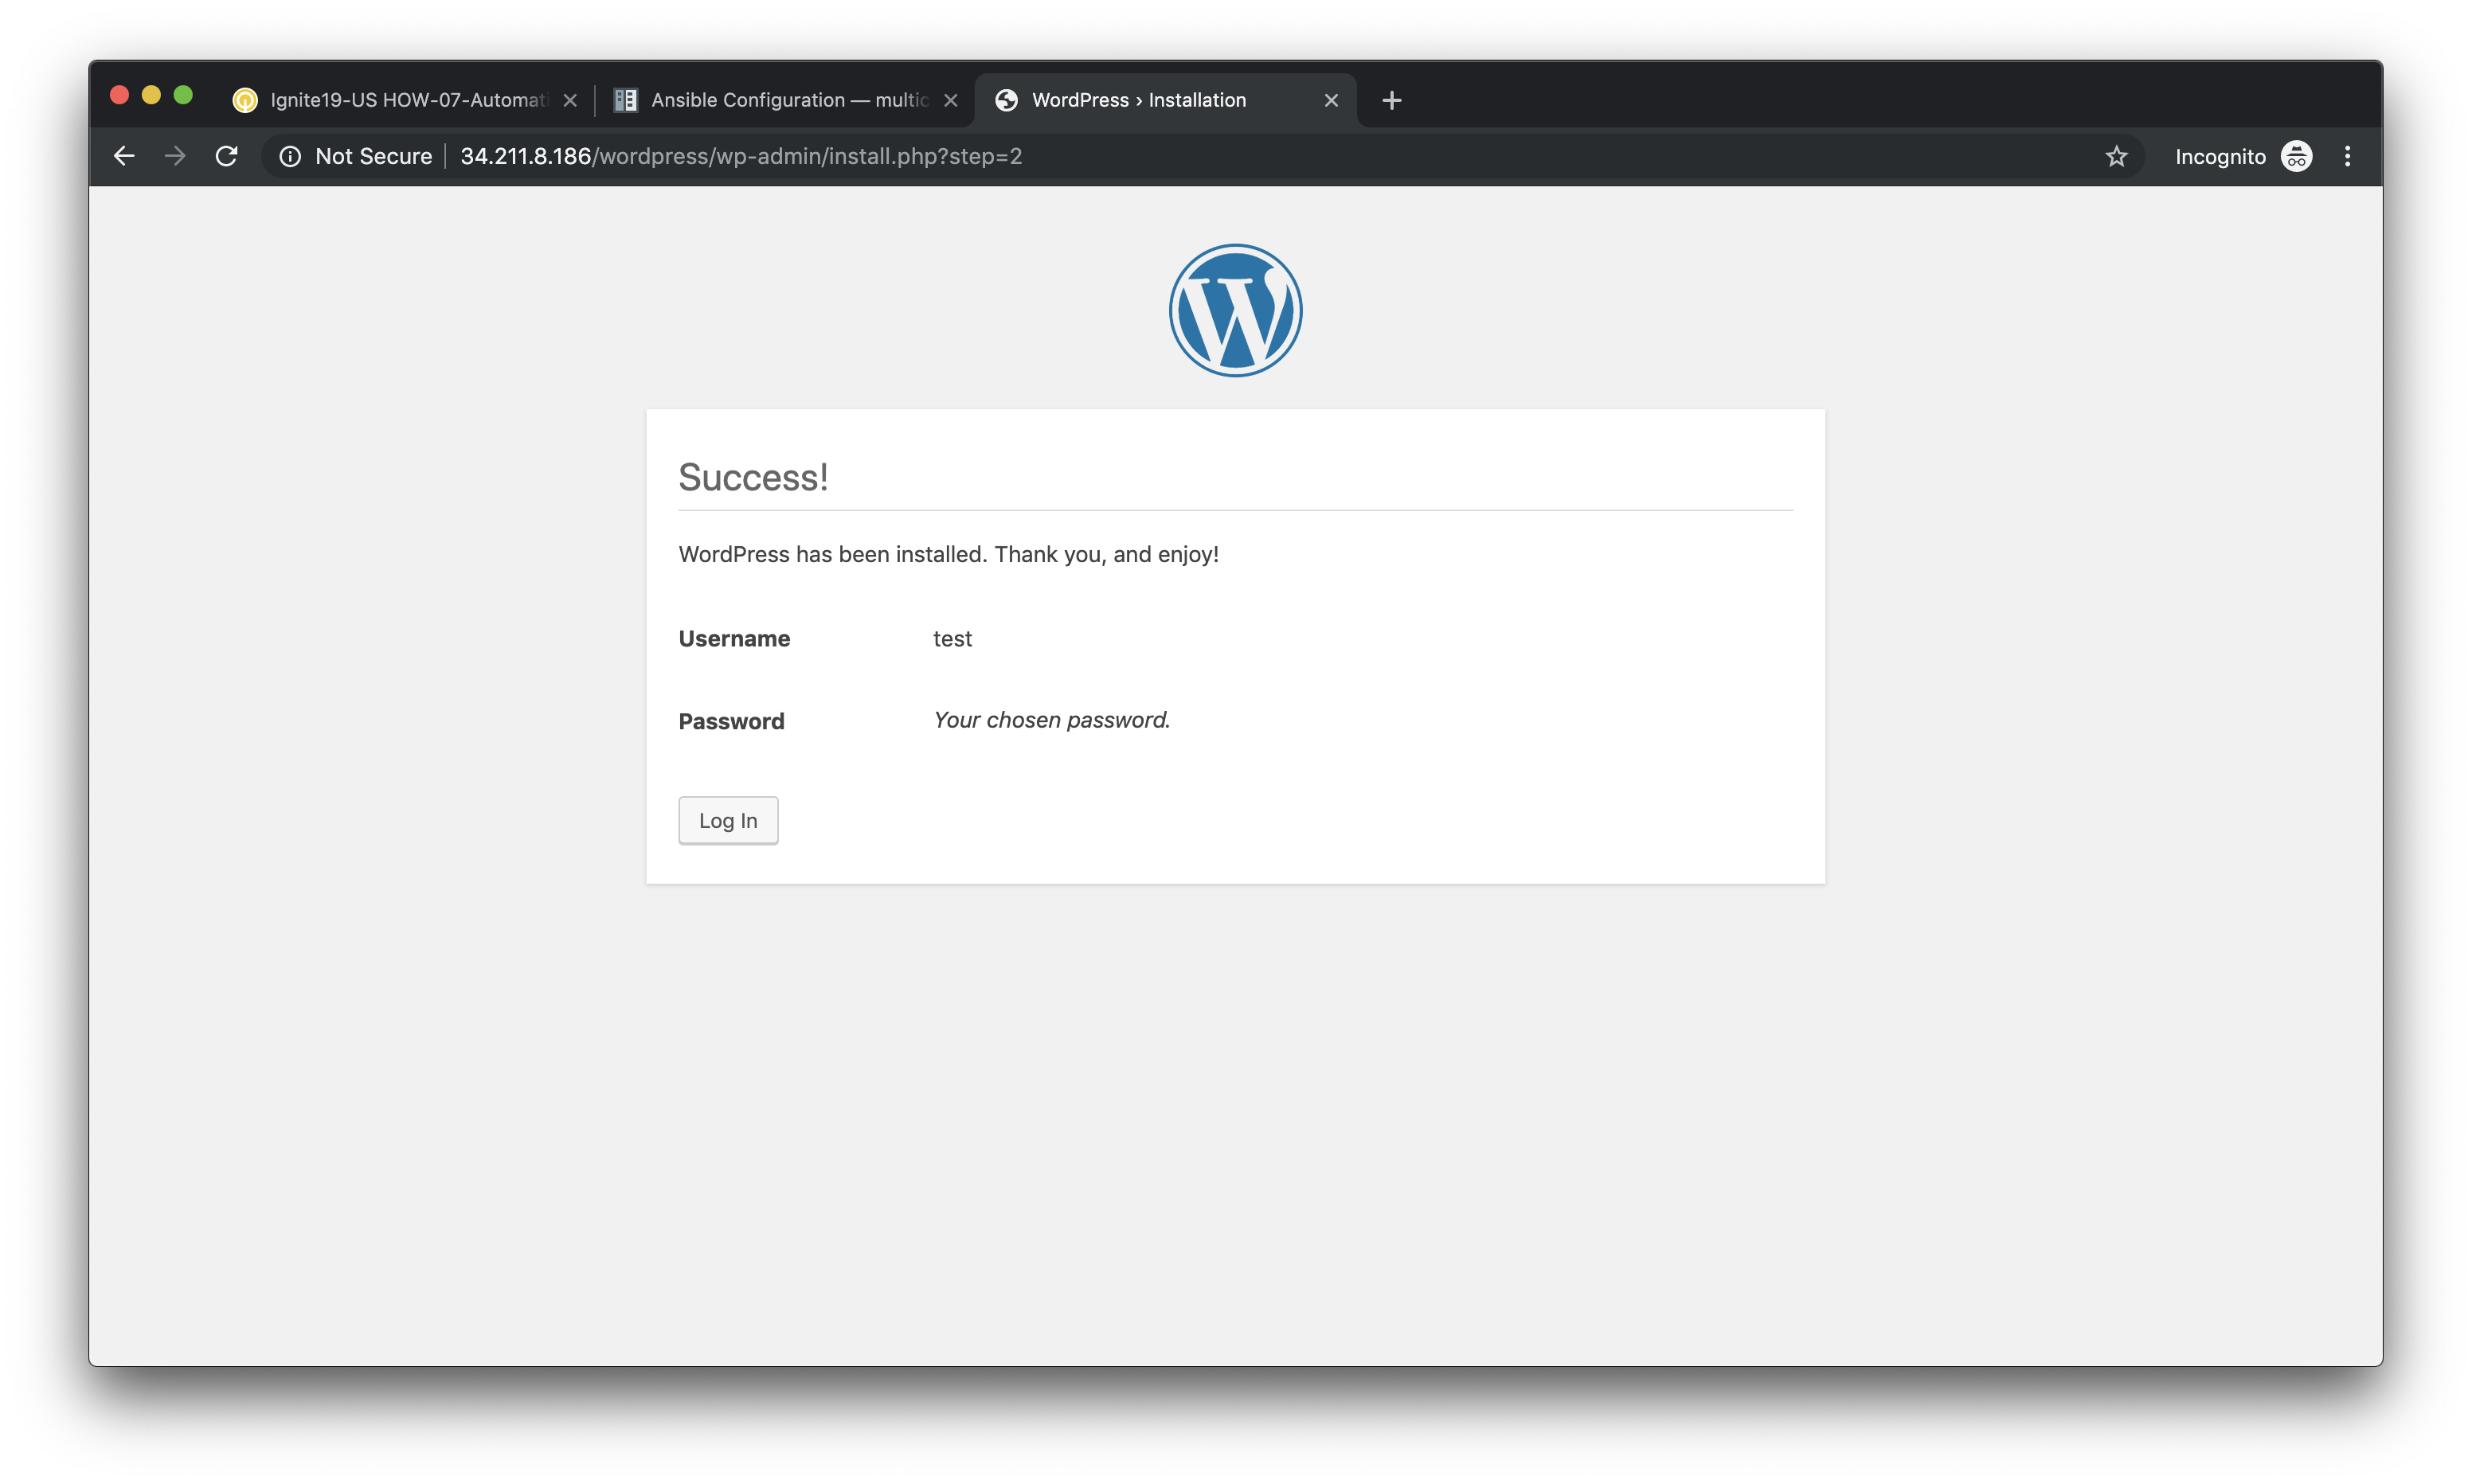
Click Install WordPress when you are done.
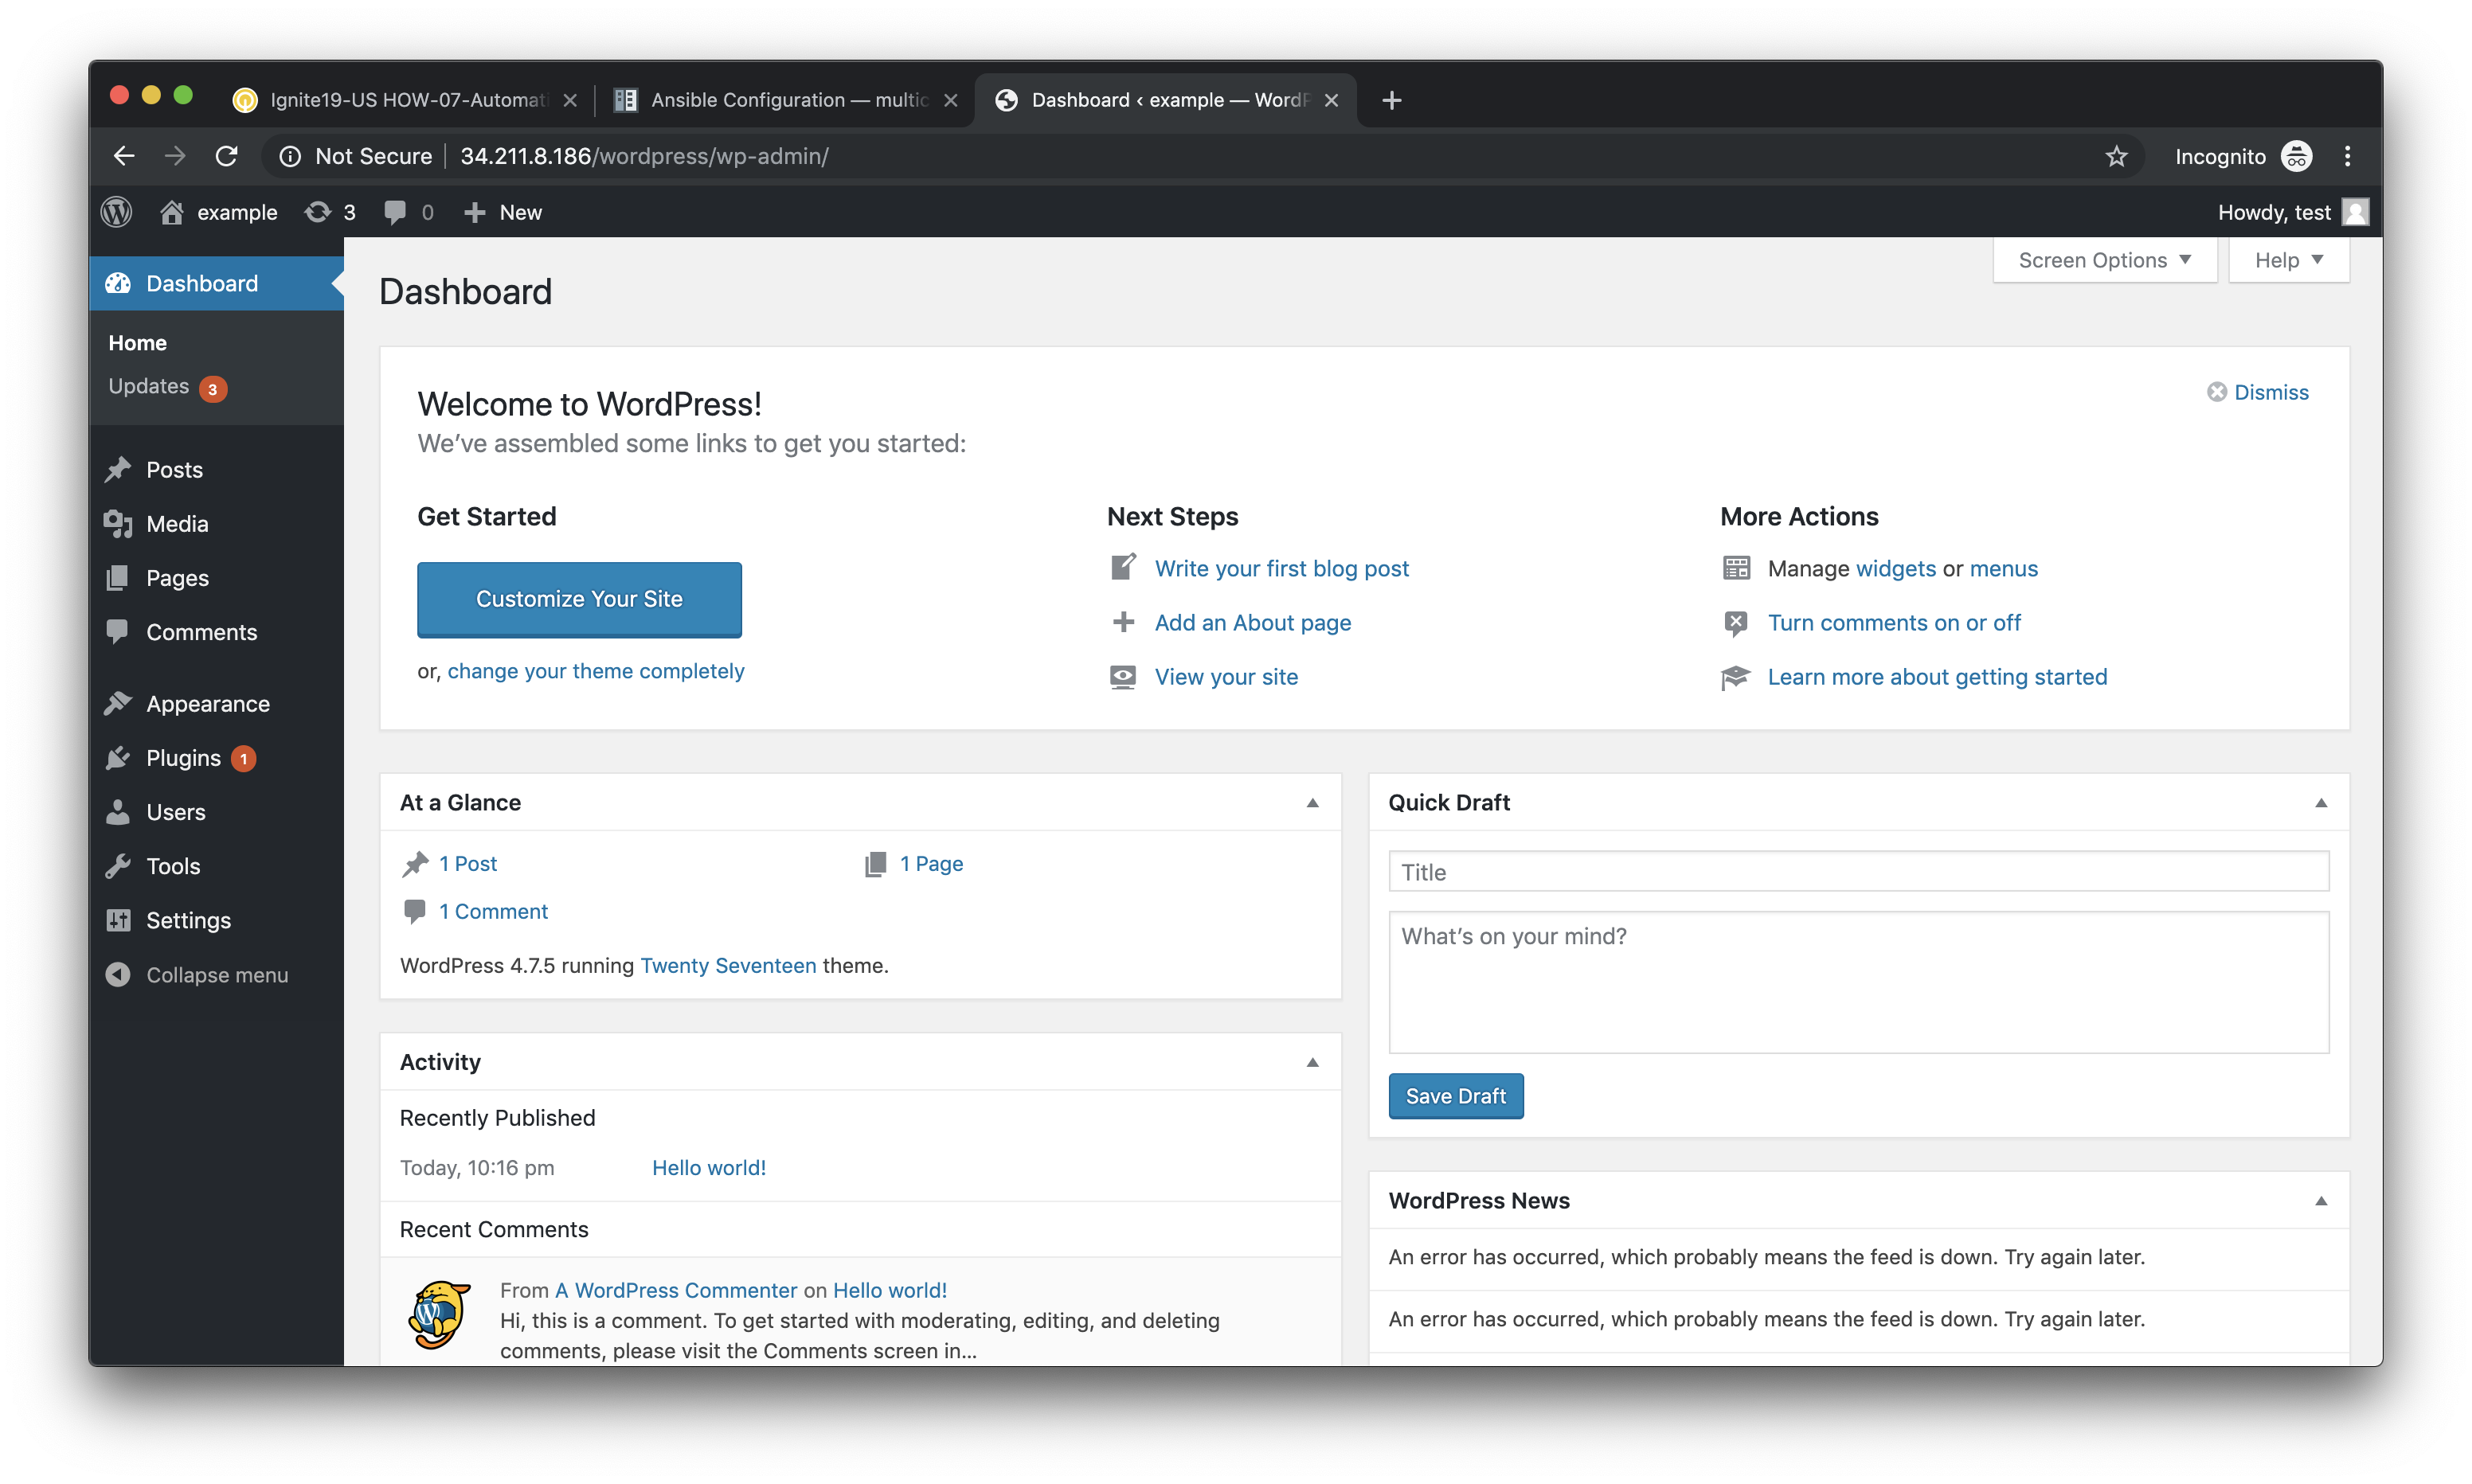
On the following page, click on Log In to log into the WordPress administrator dashboard.
Log into WordPress using the username and password you created.
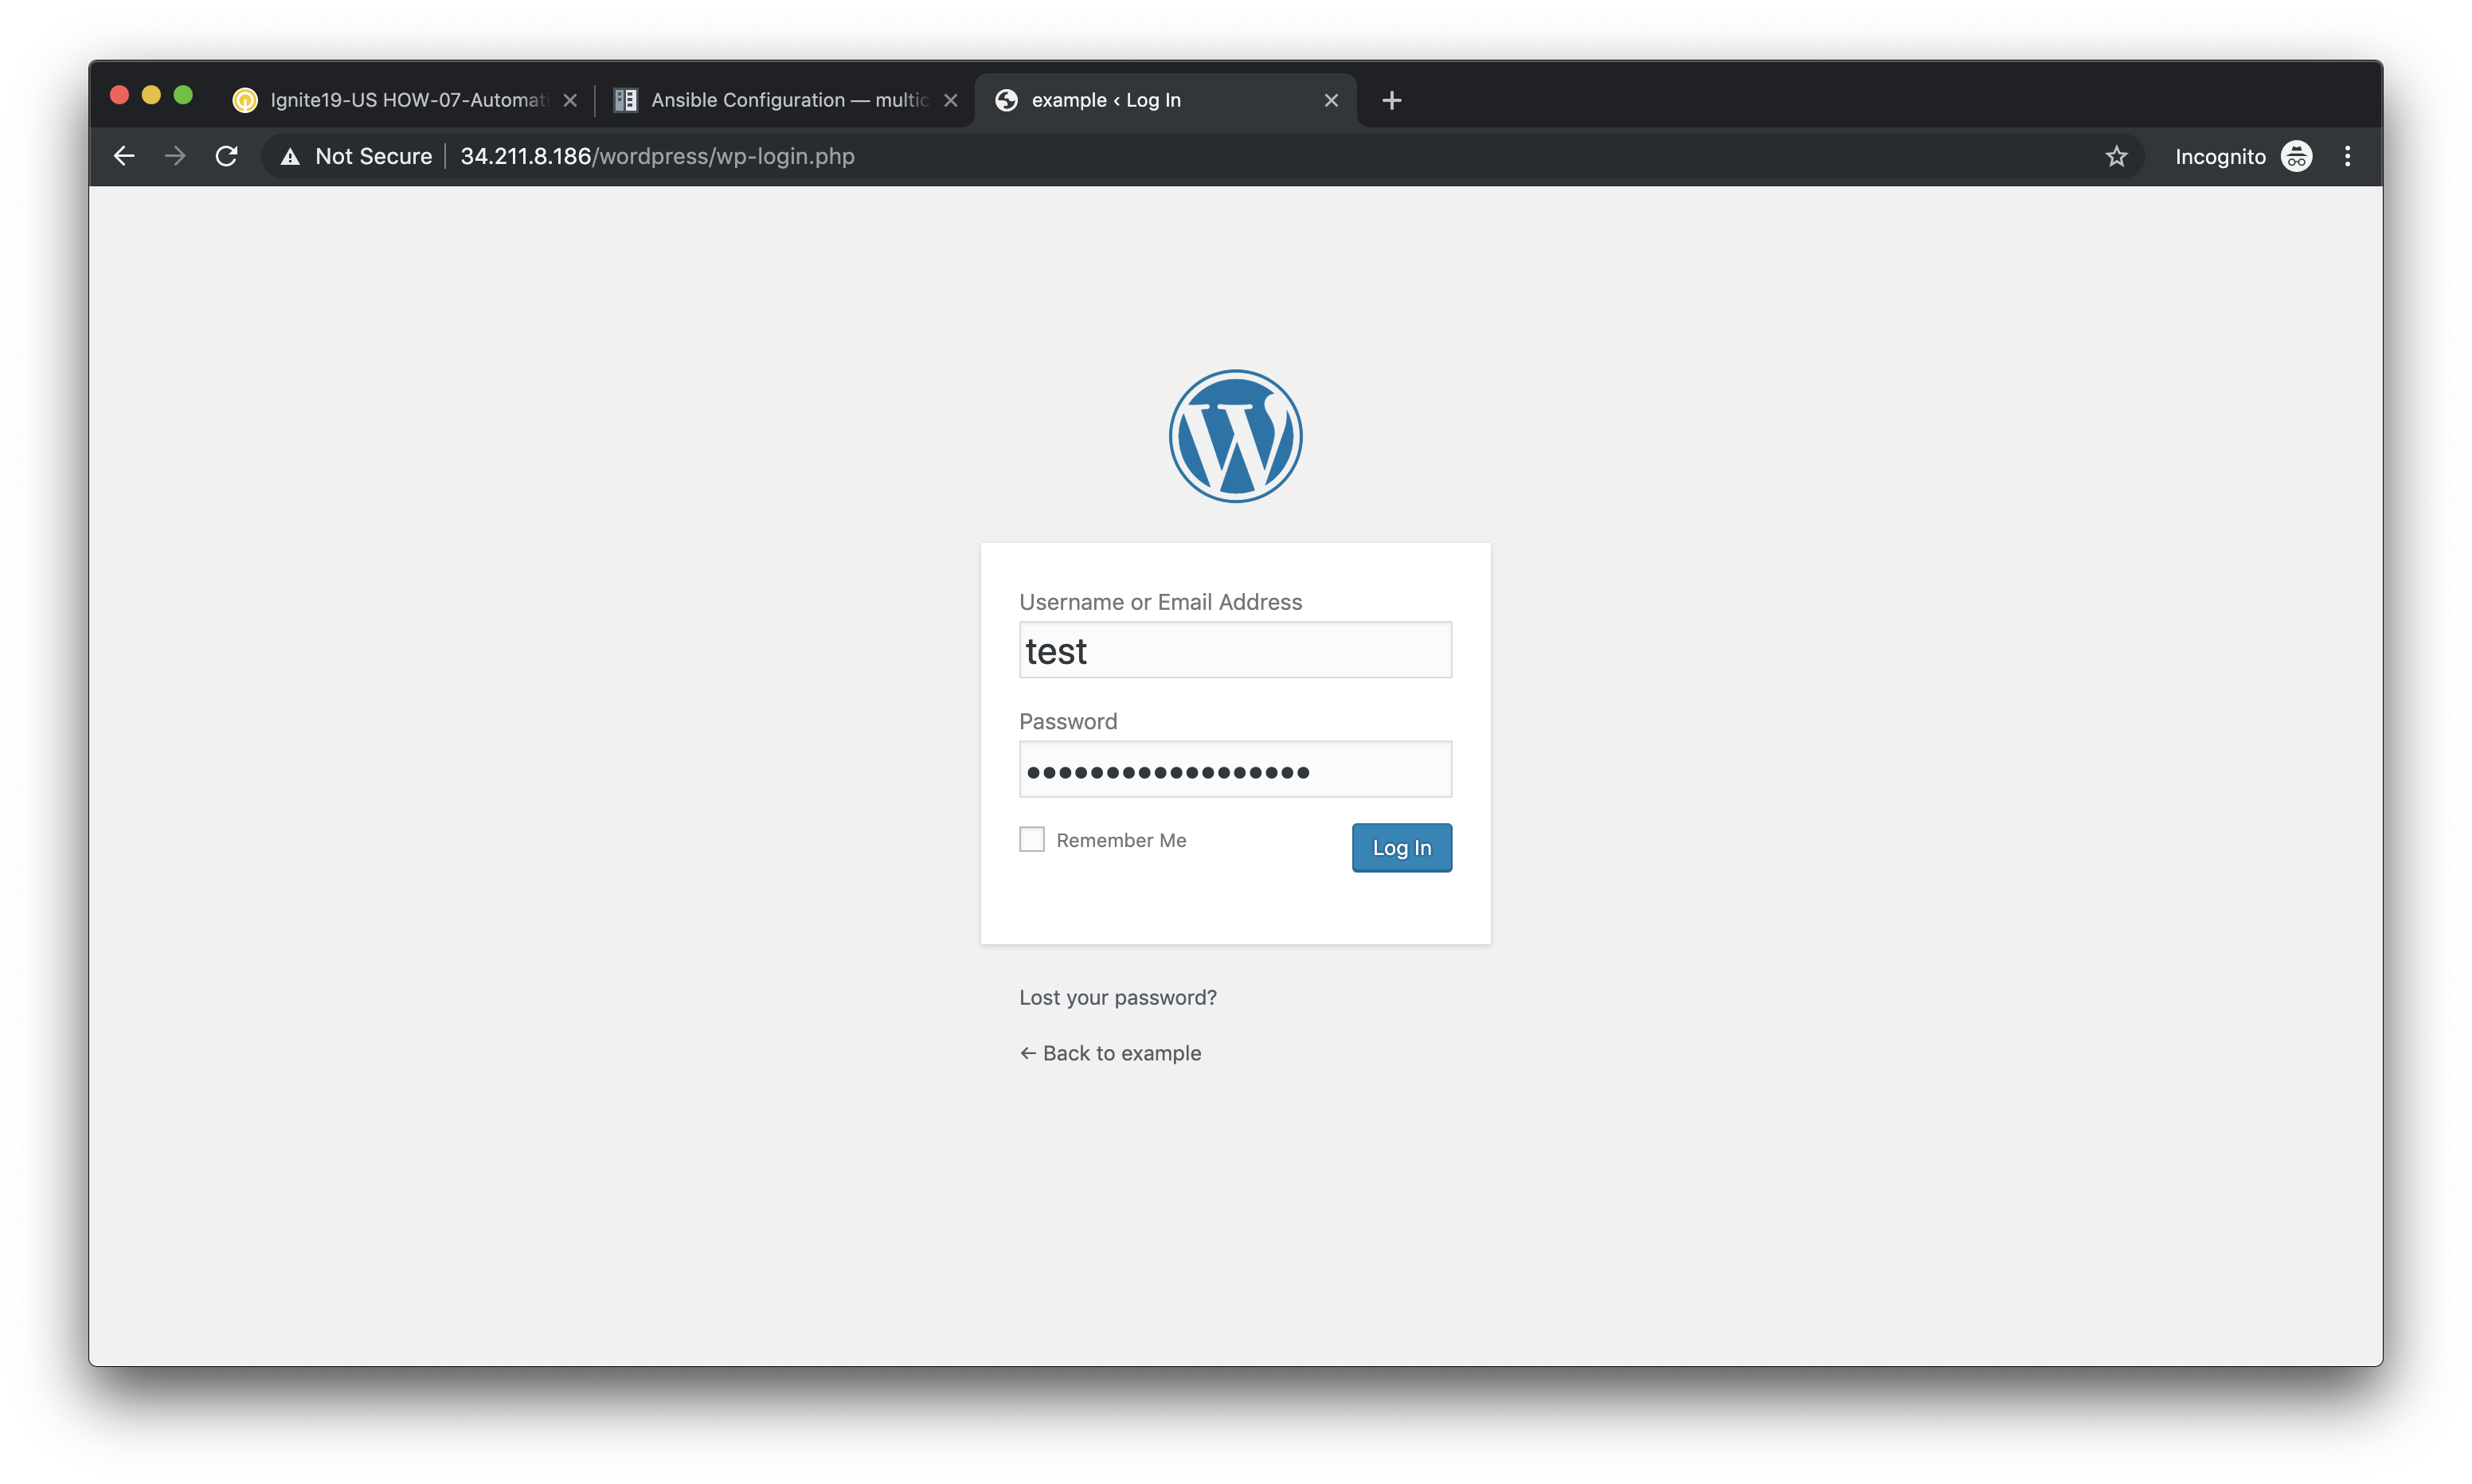
You will then be presented with the WordPress administrator dashboard.
Post a blog article
Now that you’ve successfully logged into the WordPress administrator dashboard, let’s post an update to the blog.
Click on Write your first blog post under the Next Steps section. You will be presented with the Add New Post editor.
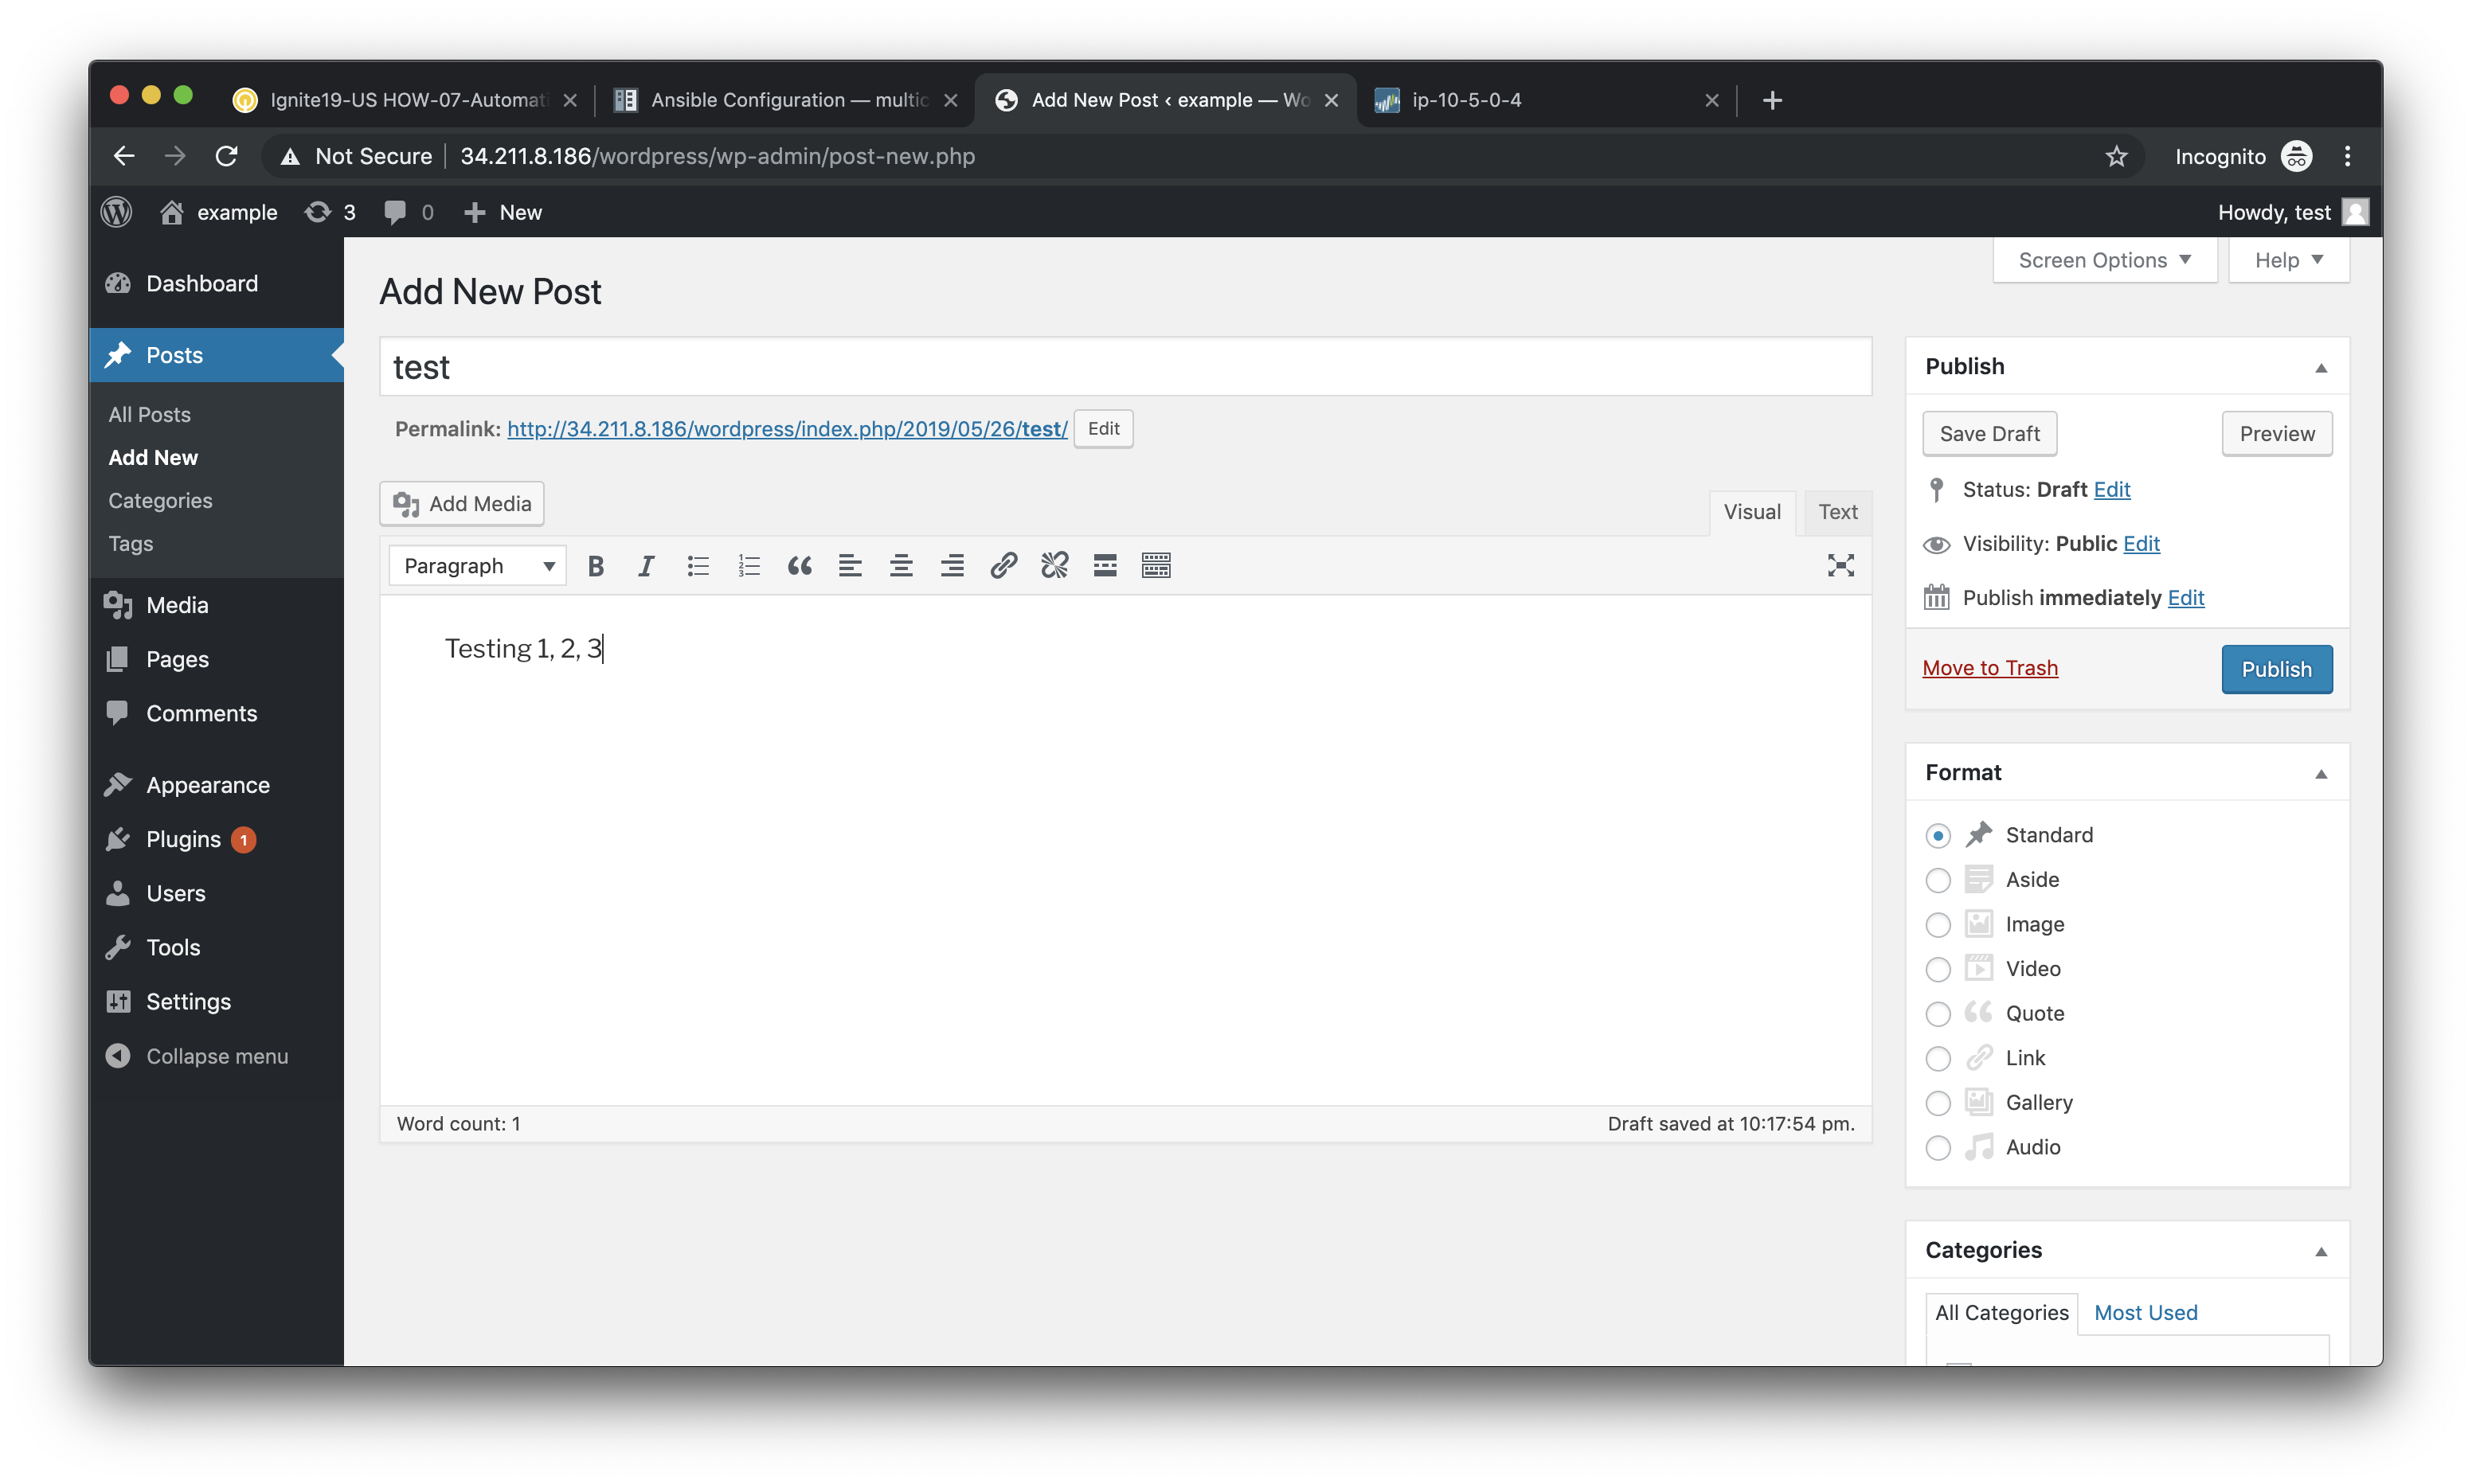
Enter a title for your post and some sample content. Then click on Publish to post the update.
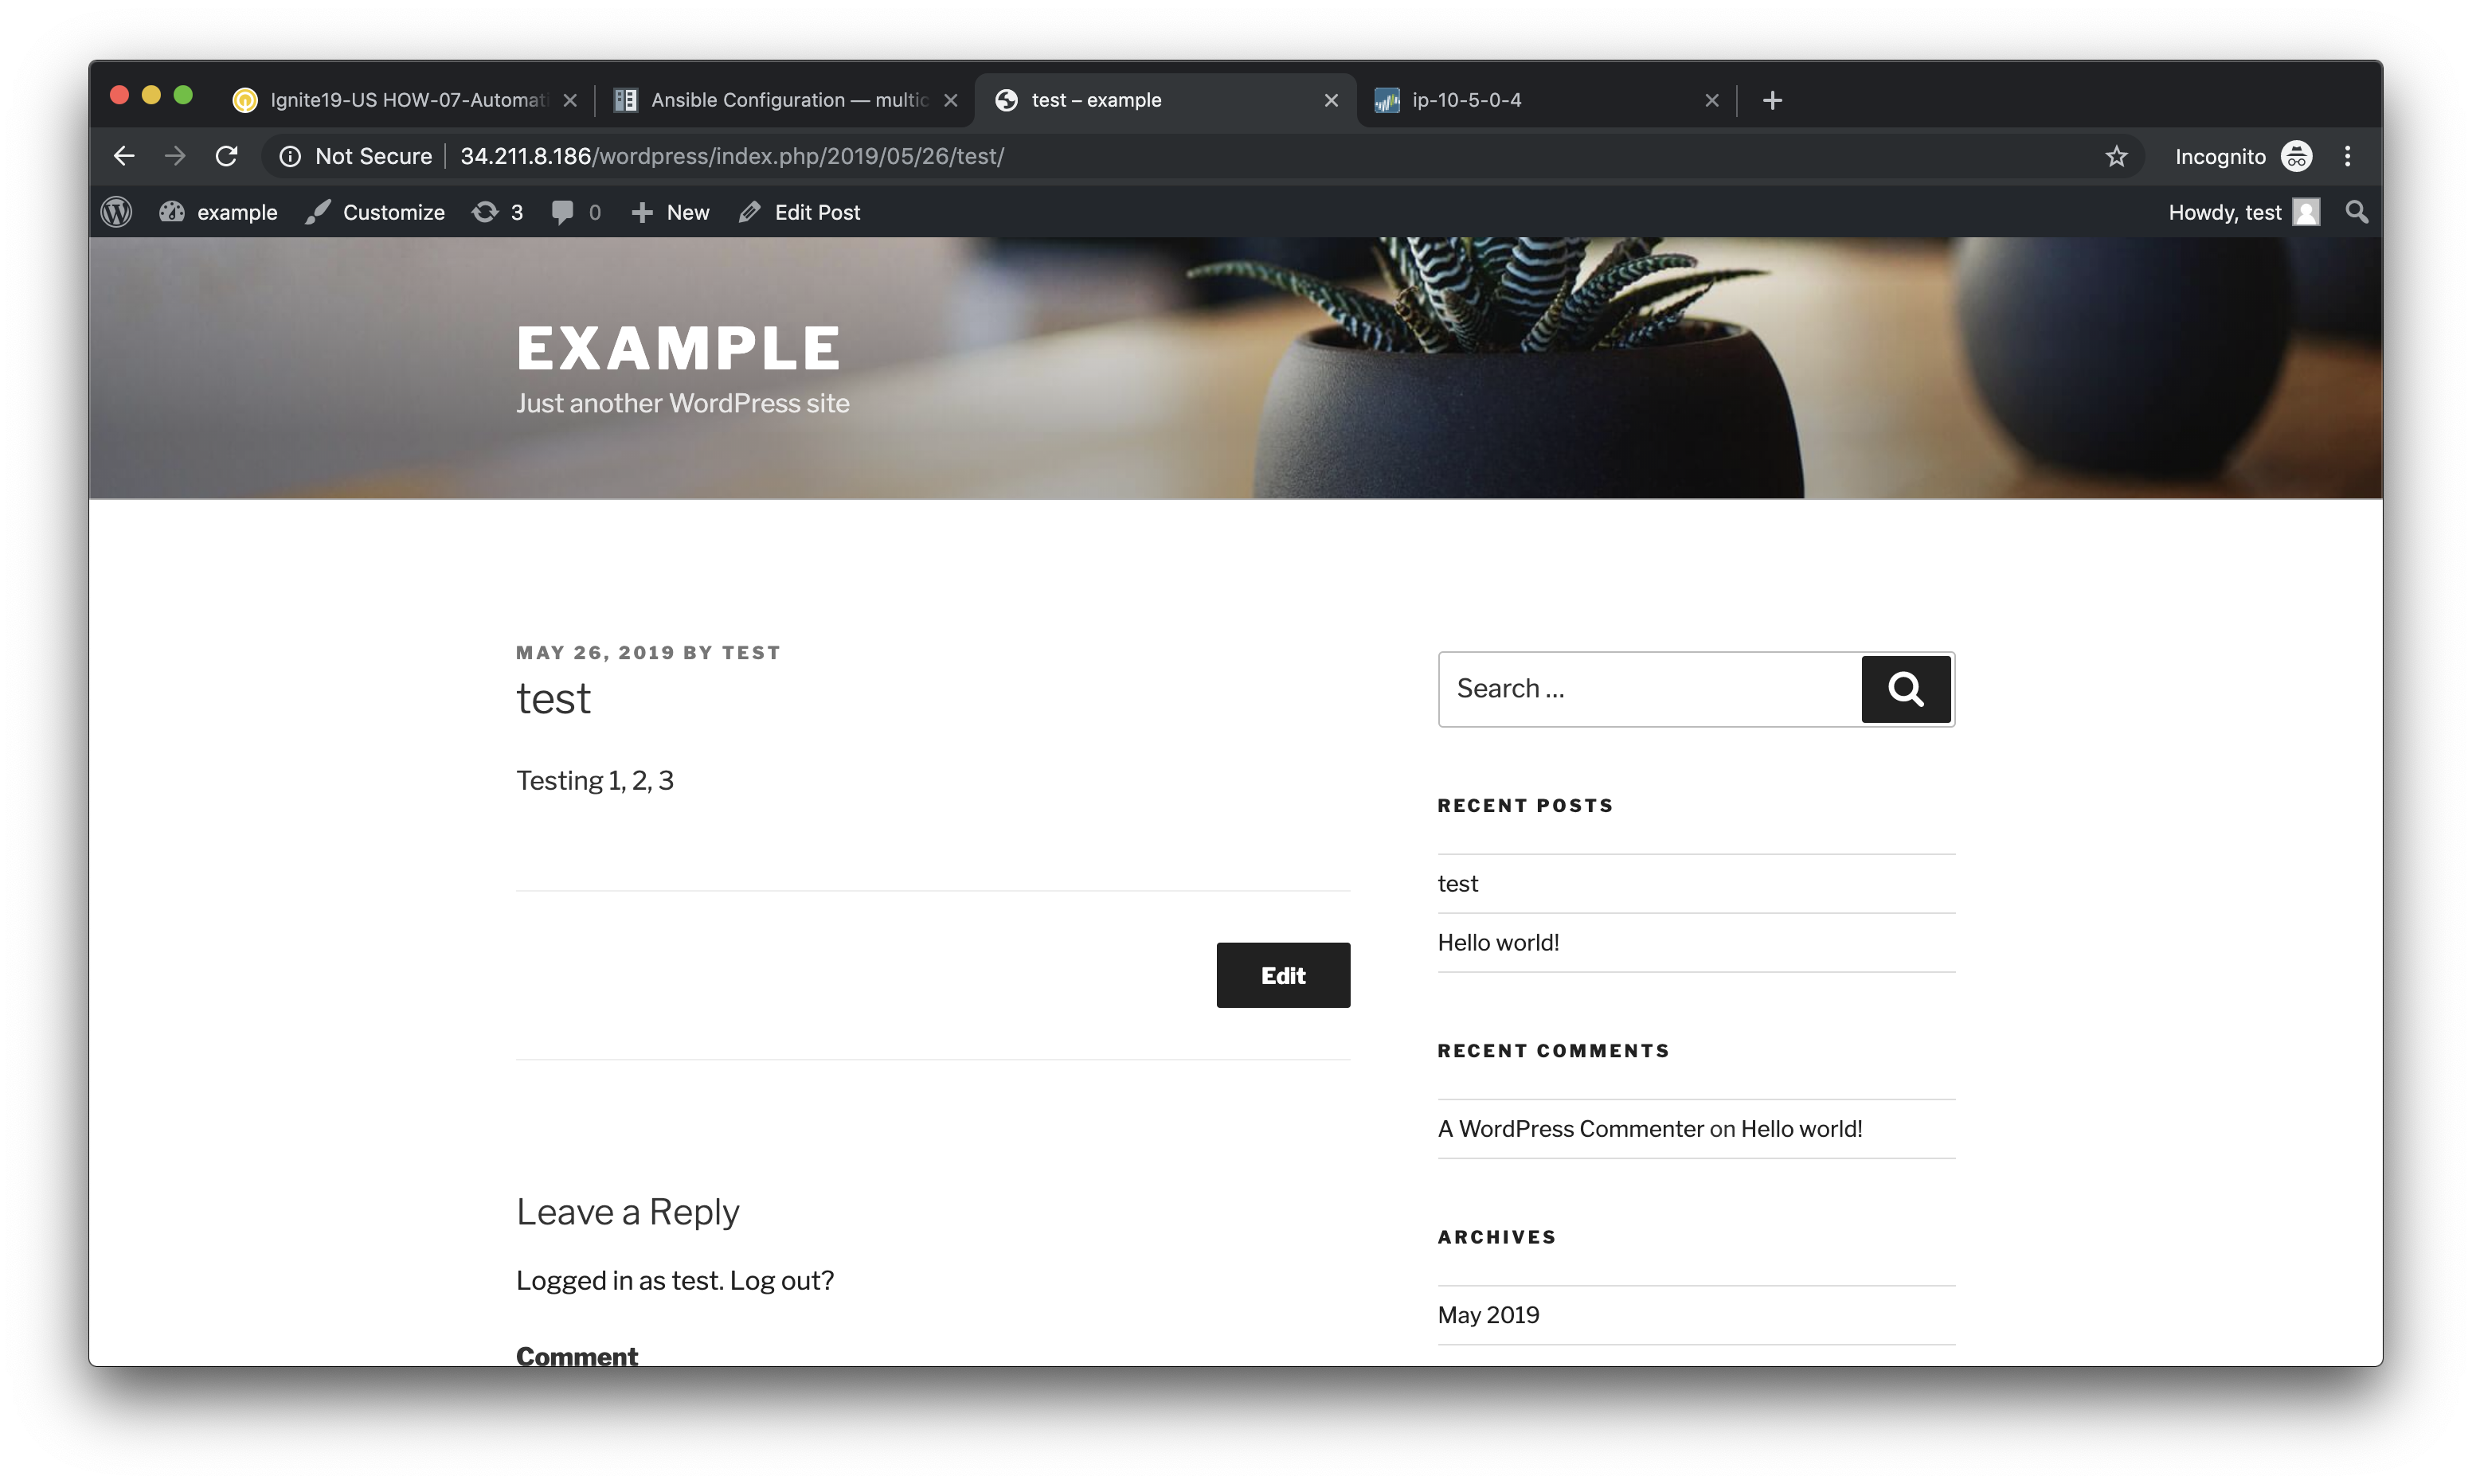
You can then click on Preview to see the published blog update.
Verify firewall rule matches
Now that we’ve confirmed the WordPress application is working properly, let’s see what is happening with our firewall rules.
Log into the firewall administrator web interface at https://<firewall-management-ip>
and navigate to Policies > Security.
If you scroll to the right you will see details on the security rules that are being hit.
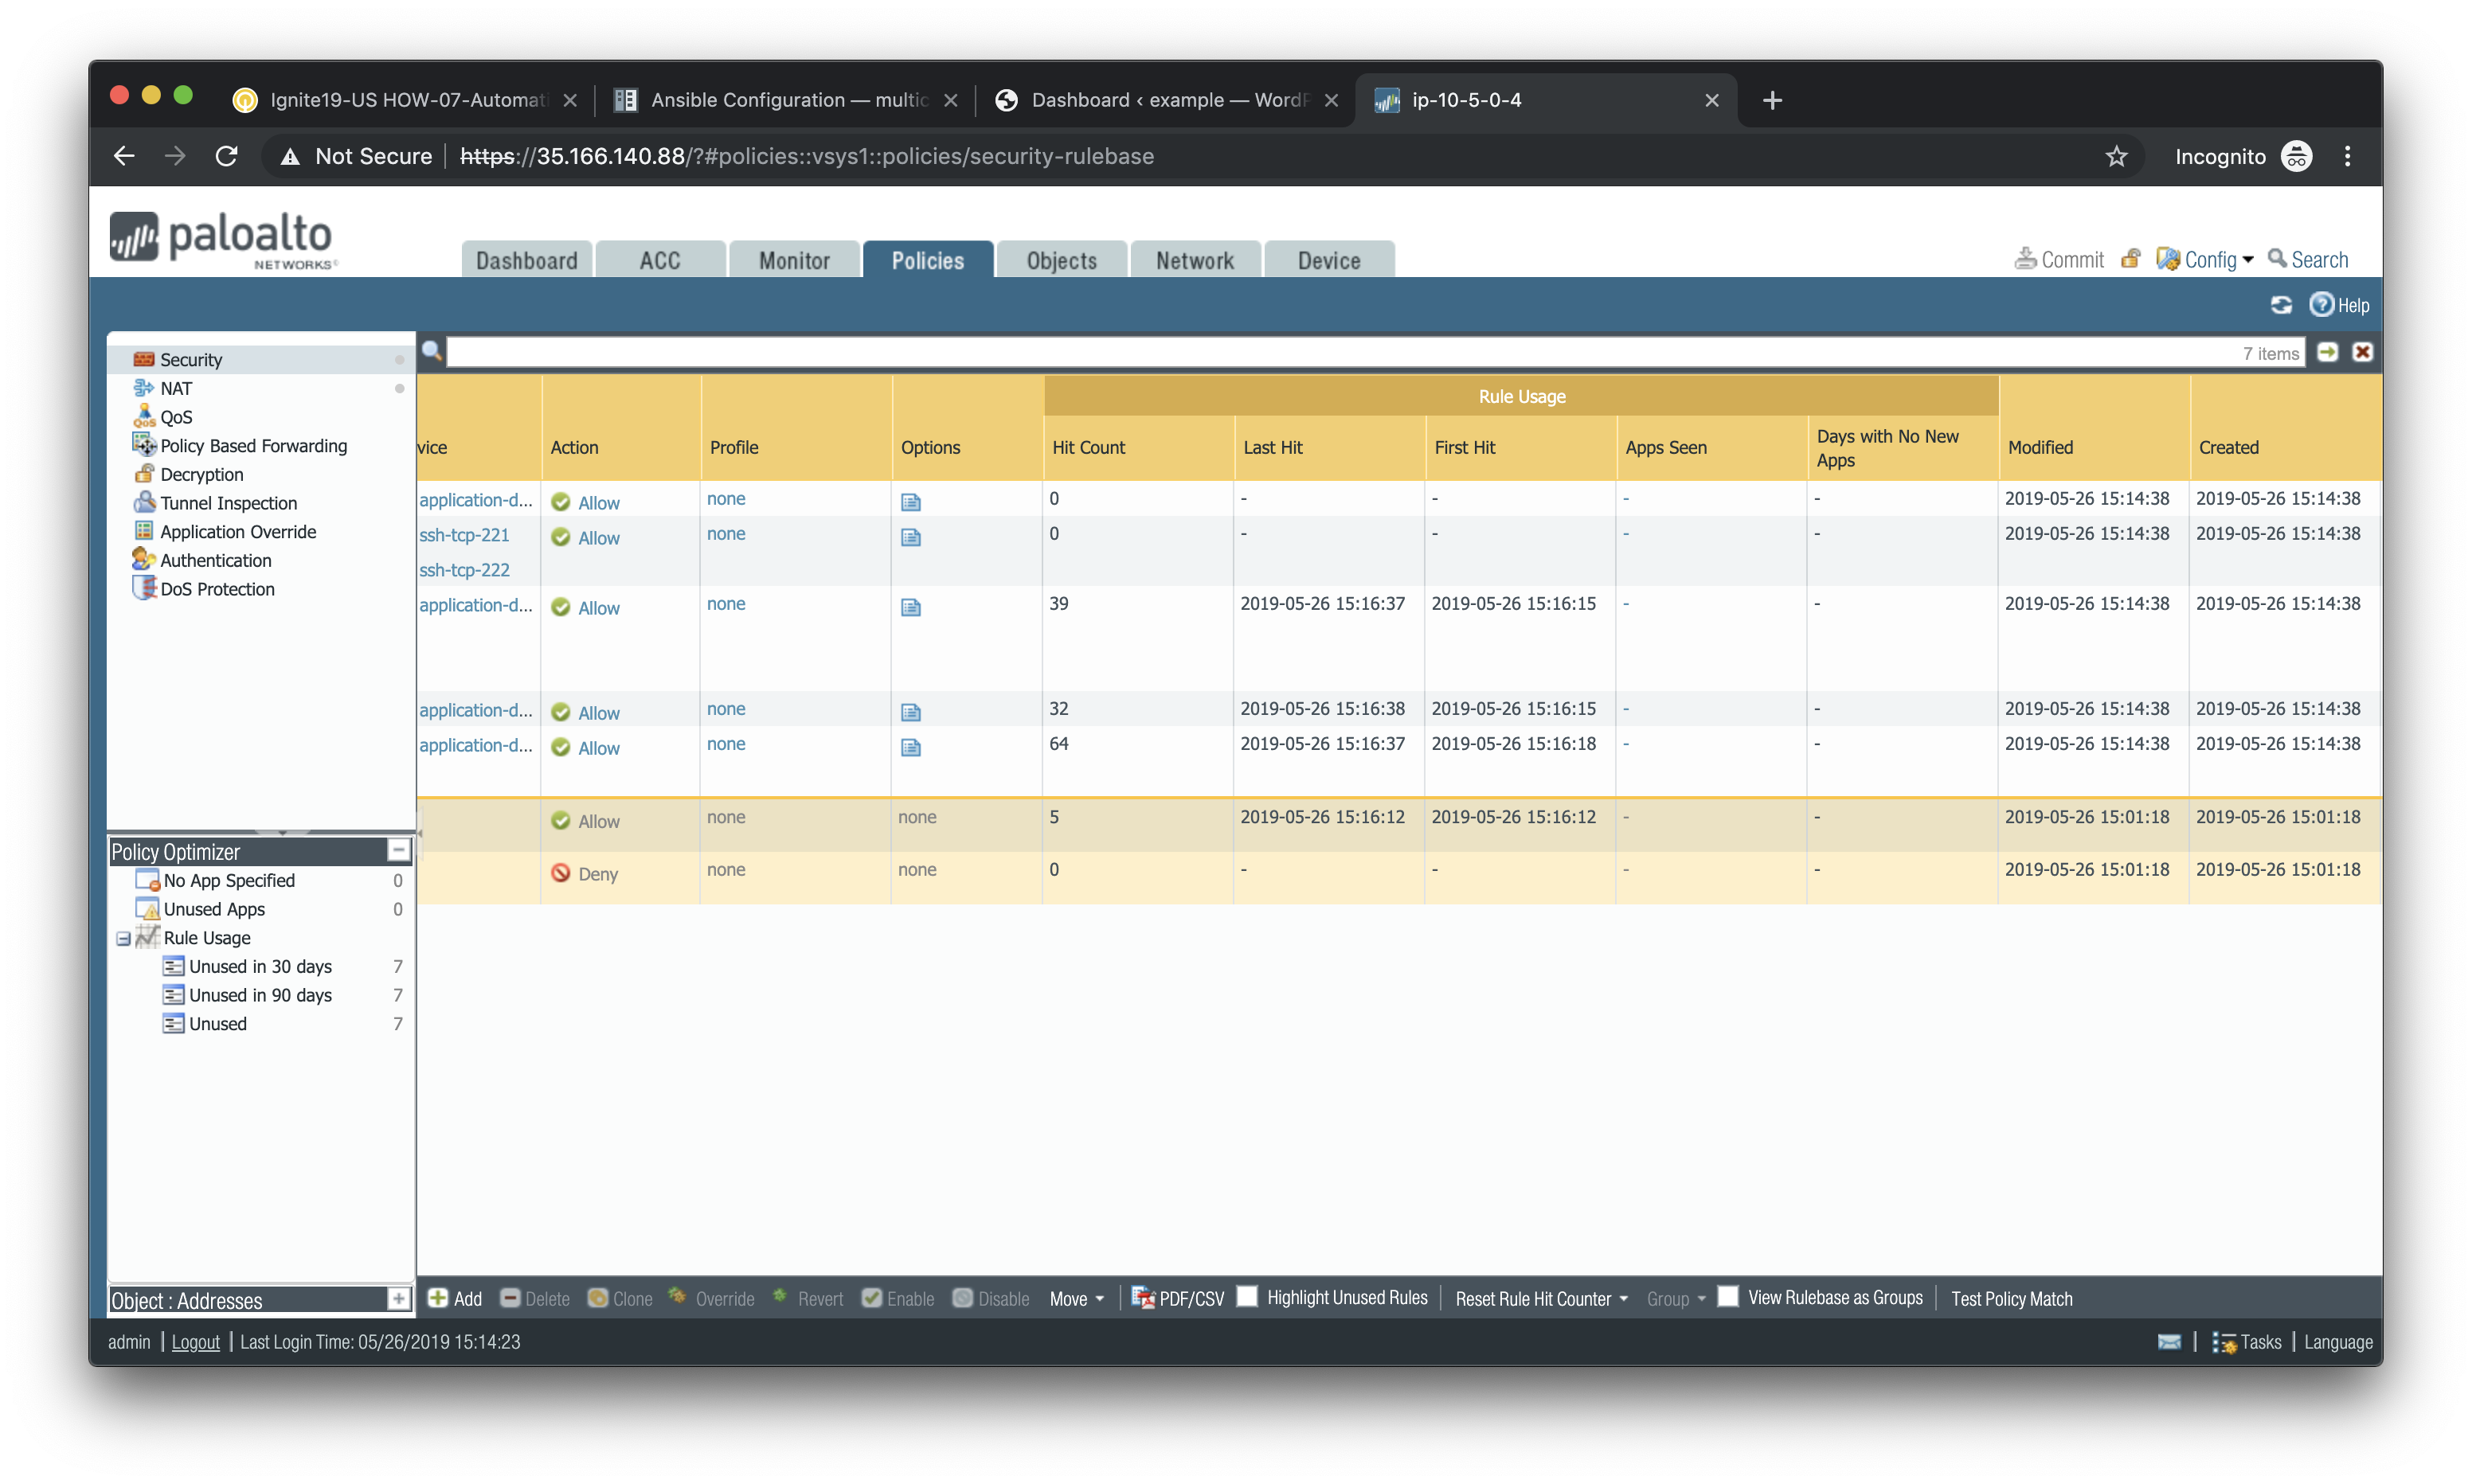
Scroll back to the left, find the security rule entitled Allow web inbound. Then click on the drop-down menu icon to the right of the rule name and select **Log Viewer*.
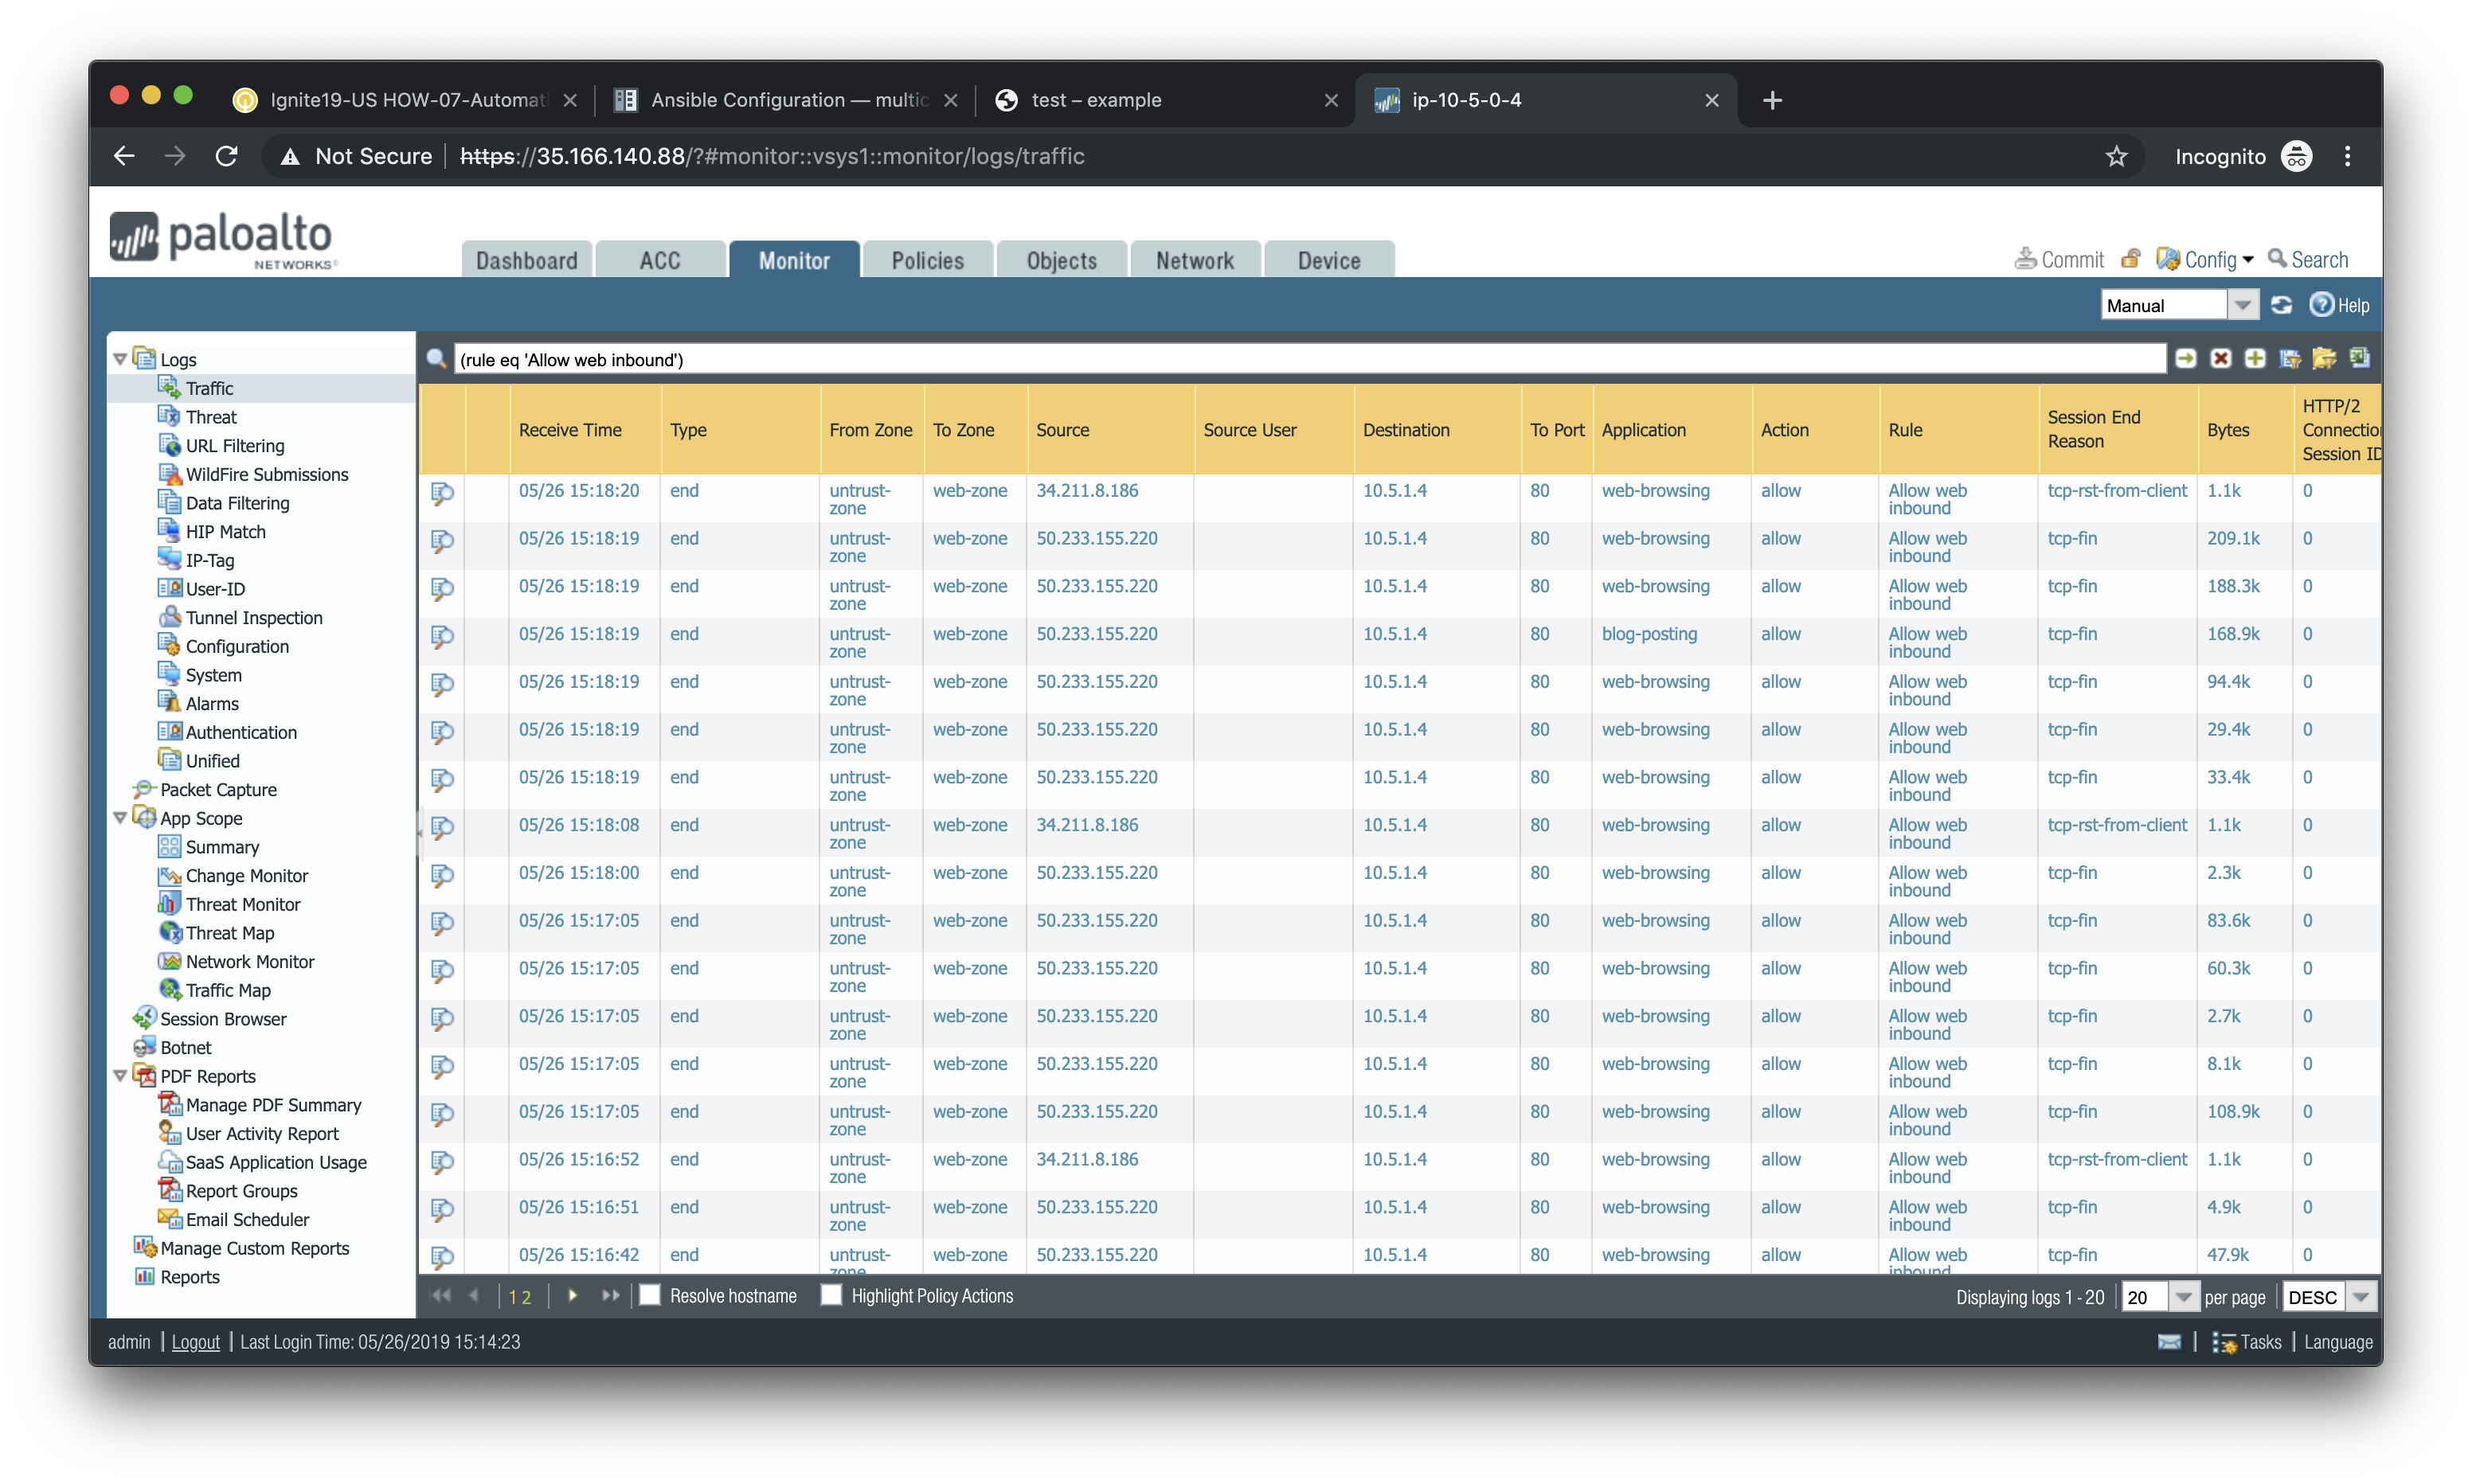
You will see all of the logs associated with inbound web traffic. Notice the applications identified are web-browsing and blog-posting.
Note
You may find source IPs other than your own as the web server is open to the public and will likely be discovered by web crawlers and other discovery tools aimed at public cloud providers.
Navigate back to Policies > Security and click on the Log Viewer for the Allow web to db rule.
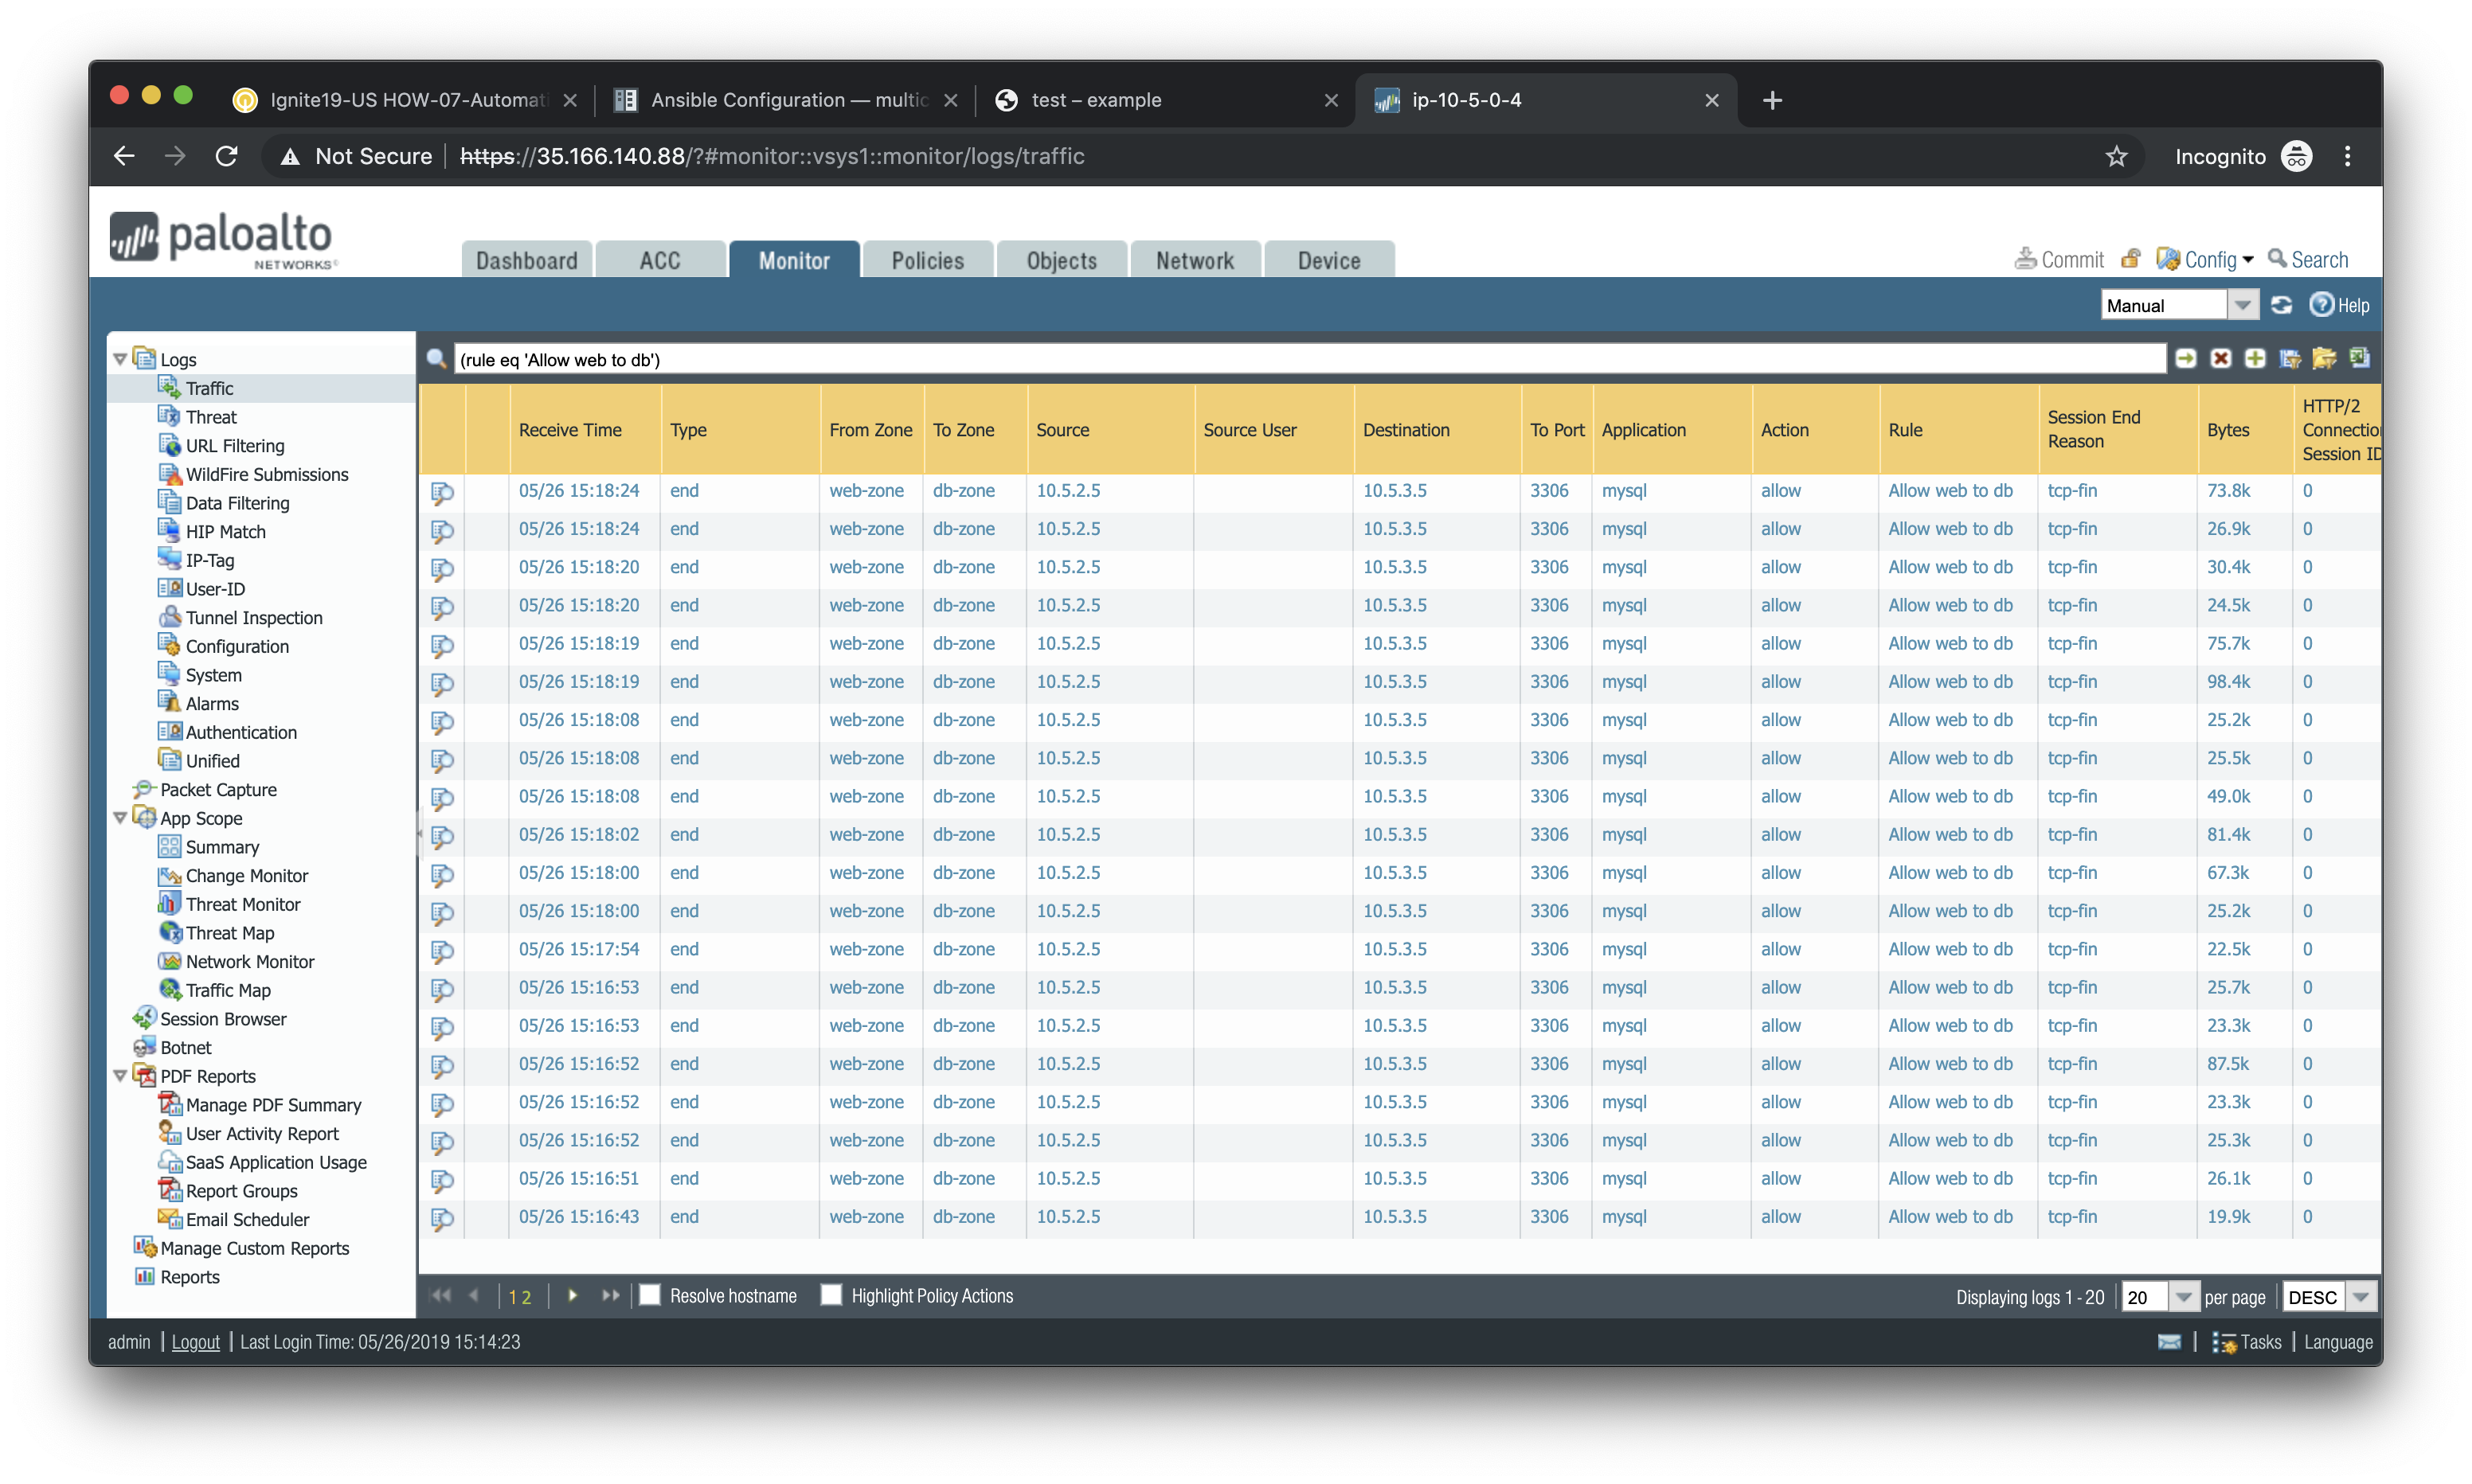
You will see all of the MySQL (actually MariaDB) database traffic between the WordPress web server and the database backend.